How to Create the Perfect Wedding Day Timeline for Stunning Photos
Planning the perfect wedding day timeline is key to ensuring your special day runs smoothly, your photos turn out stunning, and you have an absolutely amazing time with all of your friends, family, and the love of your life. As a wedding photographer, I know how important it is to create a schedule that allows time for both memorable moments and beautiful images. I’ve had the honor of photographing numerous weddings and have learned how to create a timeline that serves you and your partner on your big day. If you’re wondering how to plan a wedding timeline so that your day is beautiful, memorable, and stress-free, check out some of my tips below.
1. Start with Getting-Ready Photos
First thing, let’s talk about the getting-ready part of your day. The getting-ready moments are some of the most cherished and emotional parts of the day. Your friends and family are all around you and the rooms is electric with excitement for what the day has to bring! Schedule at least 90 minutes for getting-ready photos, beginning when hair and makeup are nearly done. This time is perfect for capturing finishing touches of your hair and makeup being done, candid moments with your bridal party, and intimate shots of you putting on your dress and accessories. This also gives you extra time in case hair, makeup, or anything else in the getting ready department is running a bit behind. Building in buffer time in the early part of your day will not only keep you right on track with your timeline, but it will also ease your stress and make it so you don’t feel rushed!
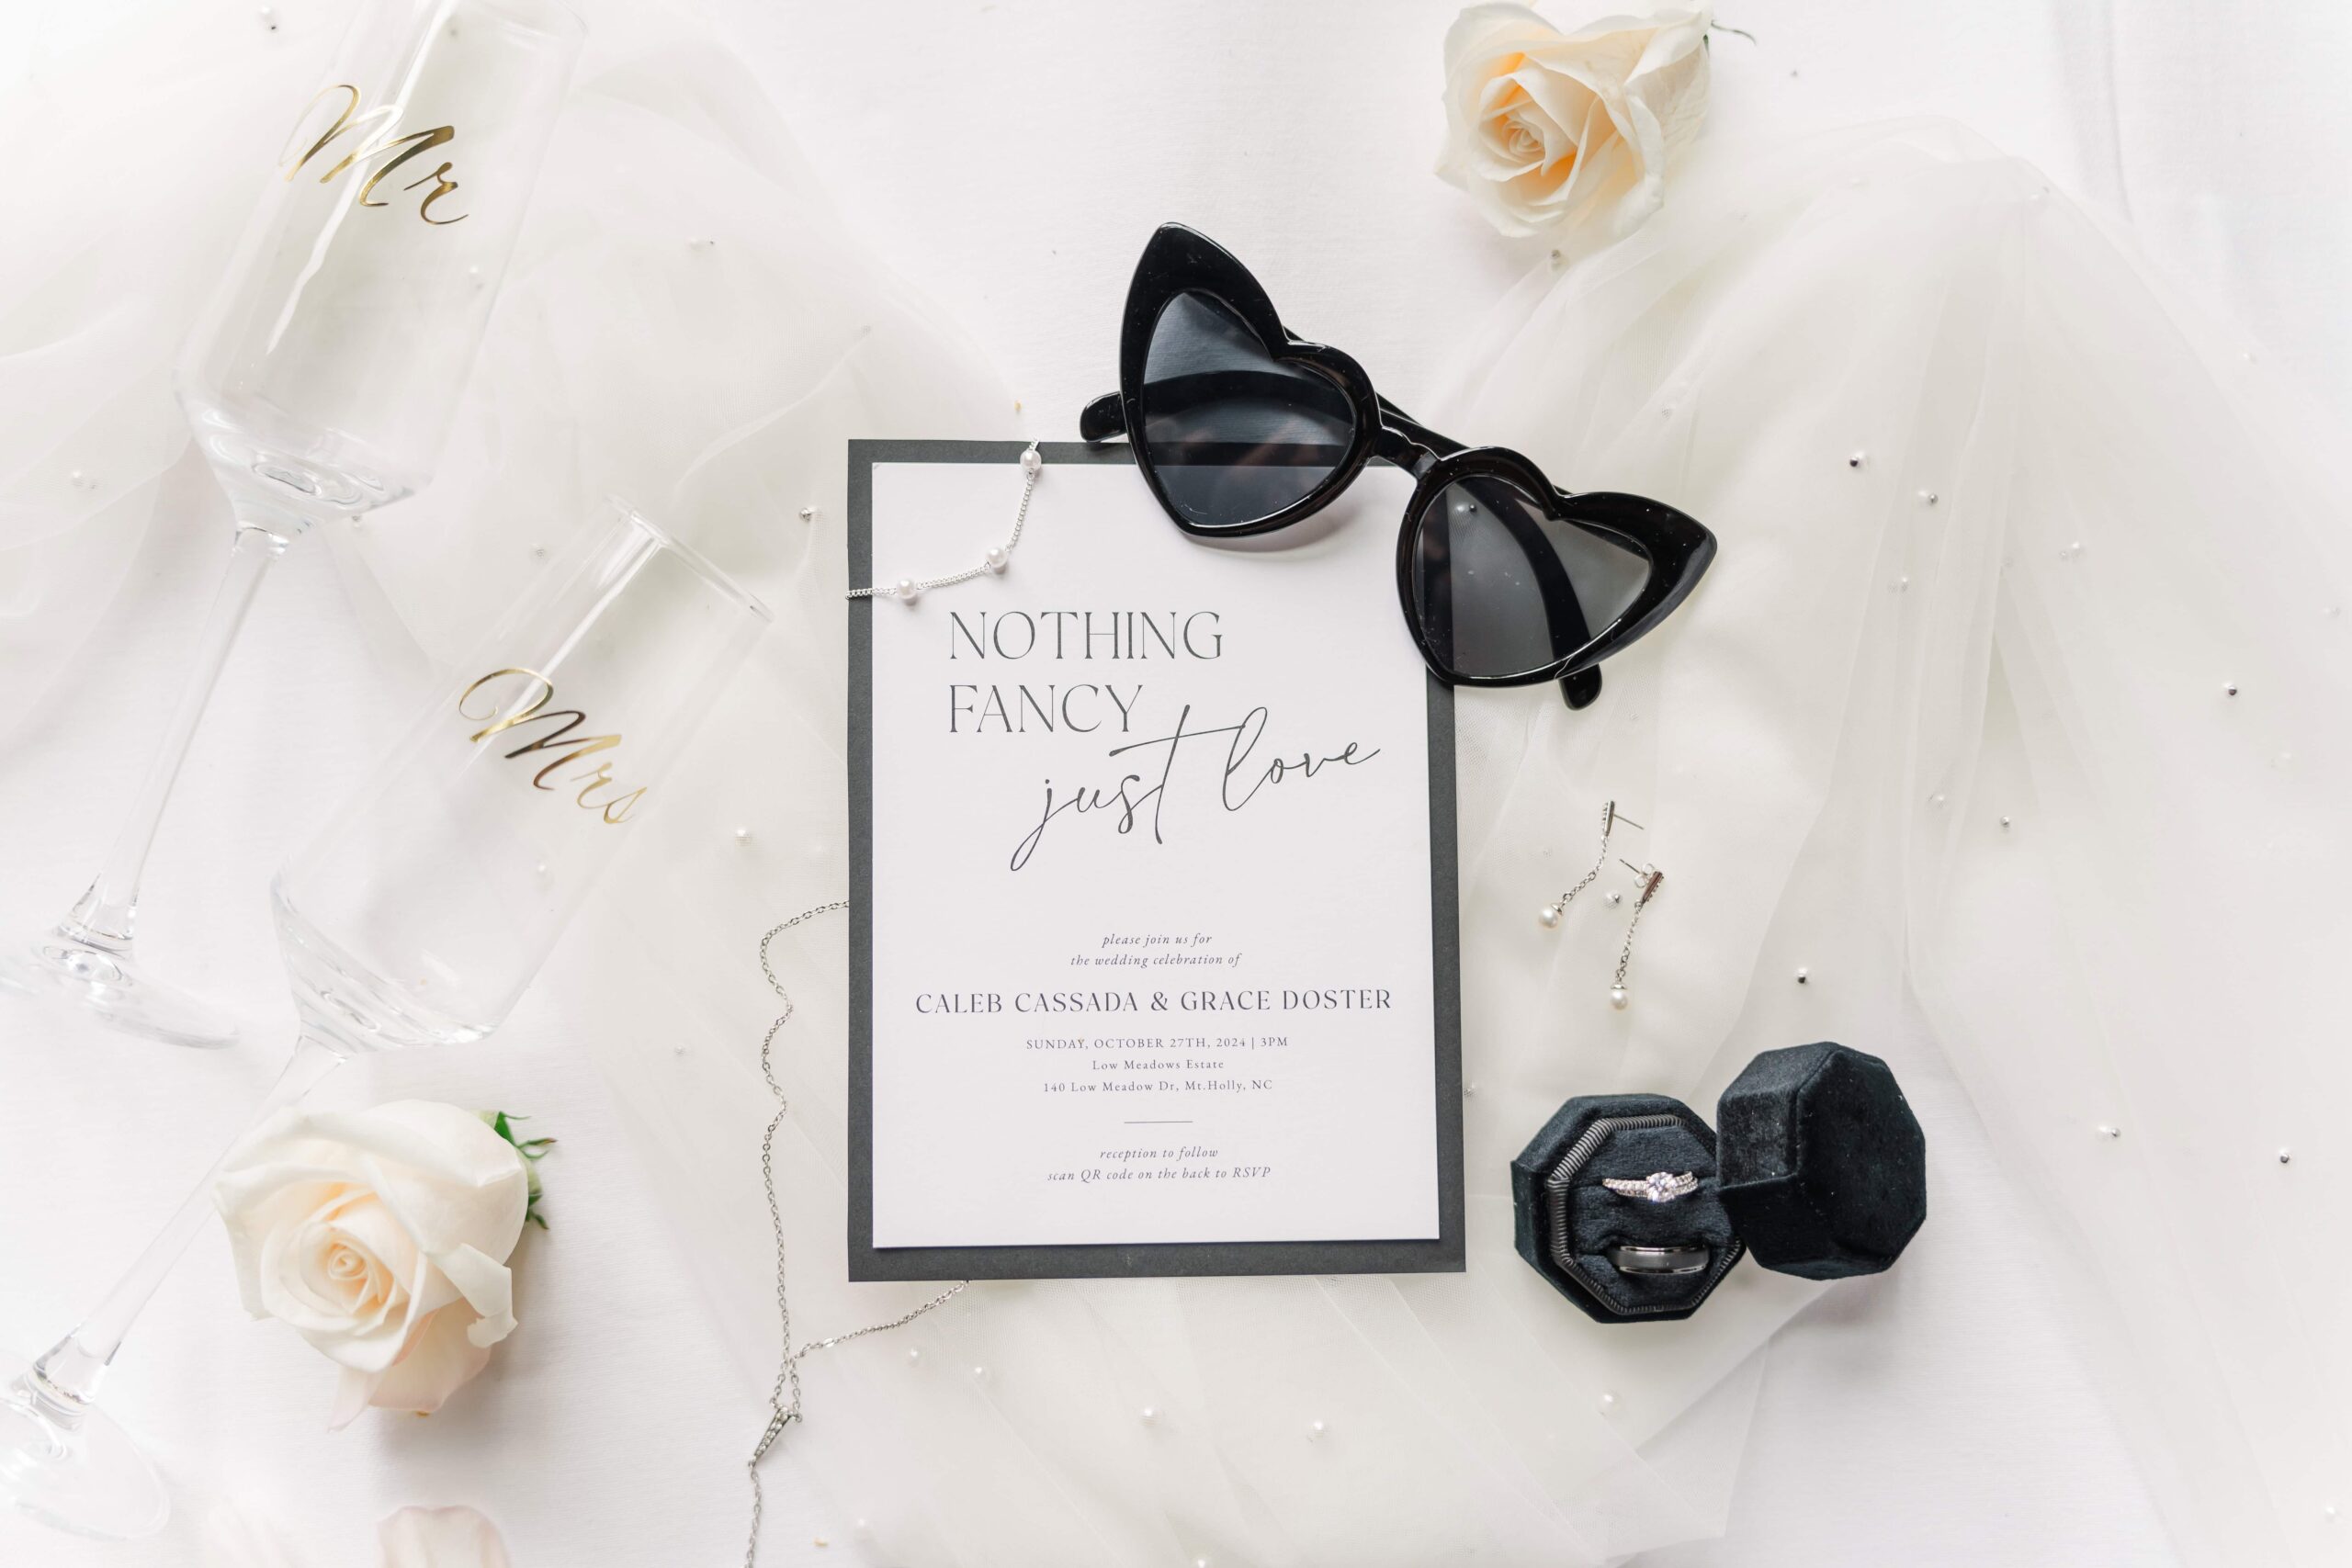
Don’t forget to reserve 45 minutes for detail and flat-lay photography. During this time, your photographer can style and capture beautiful shots of your wedding invitations, rings, shoes, jewelry, florals from your florist, and other personal touches. Most of the time, your photographer will want to start photographing these details right away (it’s a perfect little “warm up” for us for your big day!), so having everything gathered right when they arrive helps this process flow seamlessly.
If you’re wondering what details you should include, check out What Details to Include in Your Wedding Day for Gorgeous Photos.
2. Plan Time for a First Look (or First Touch)
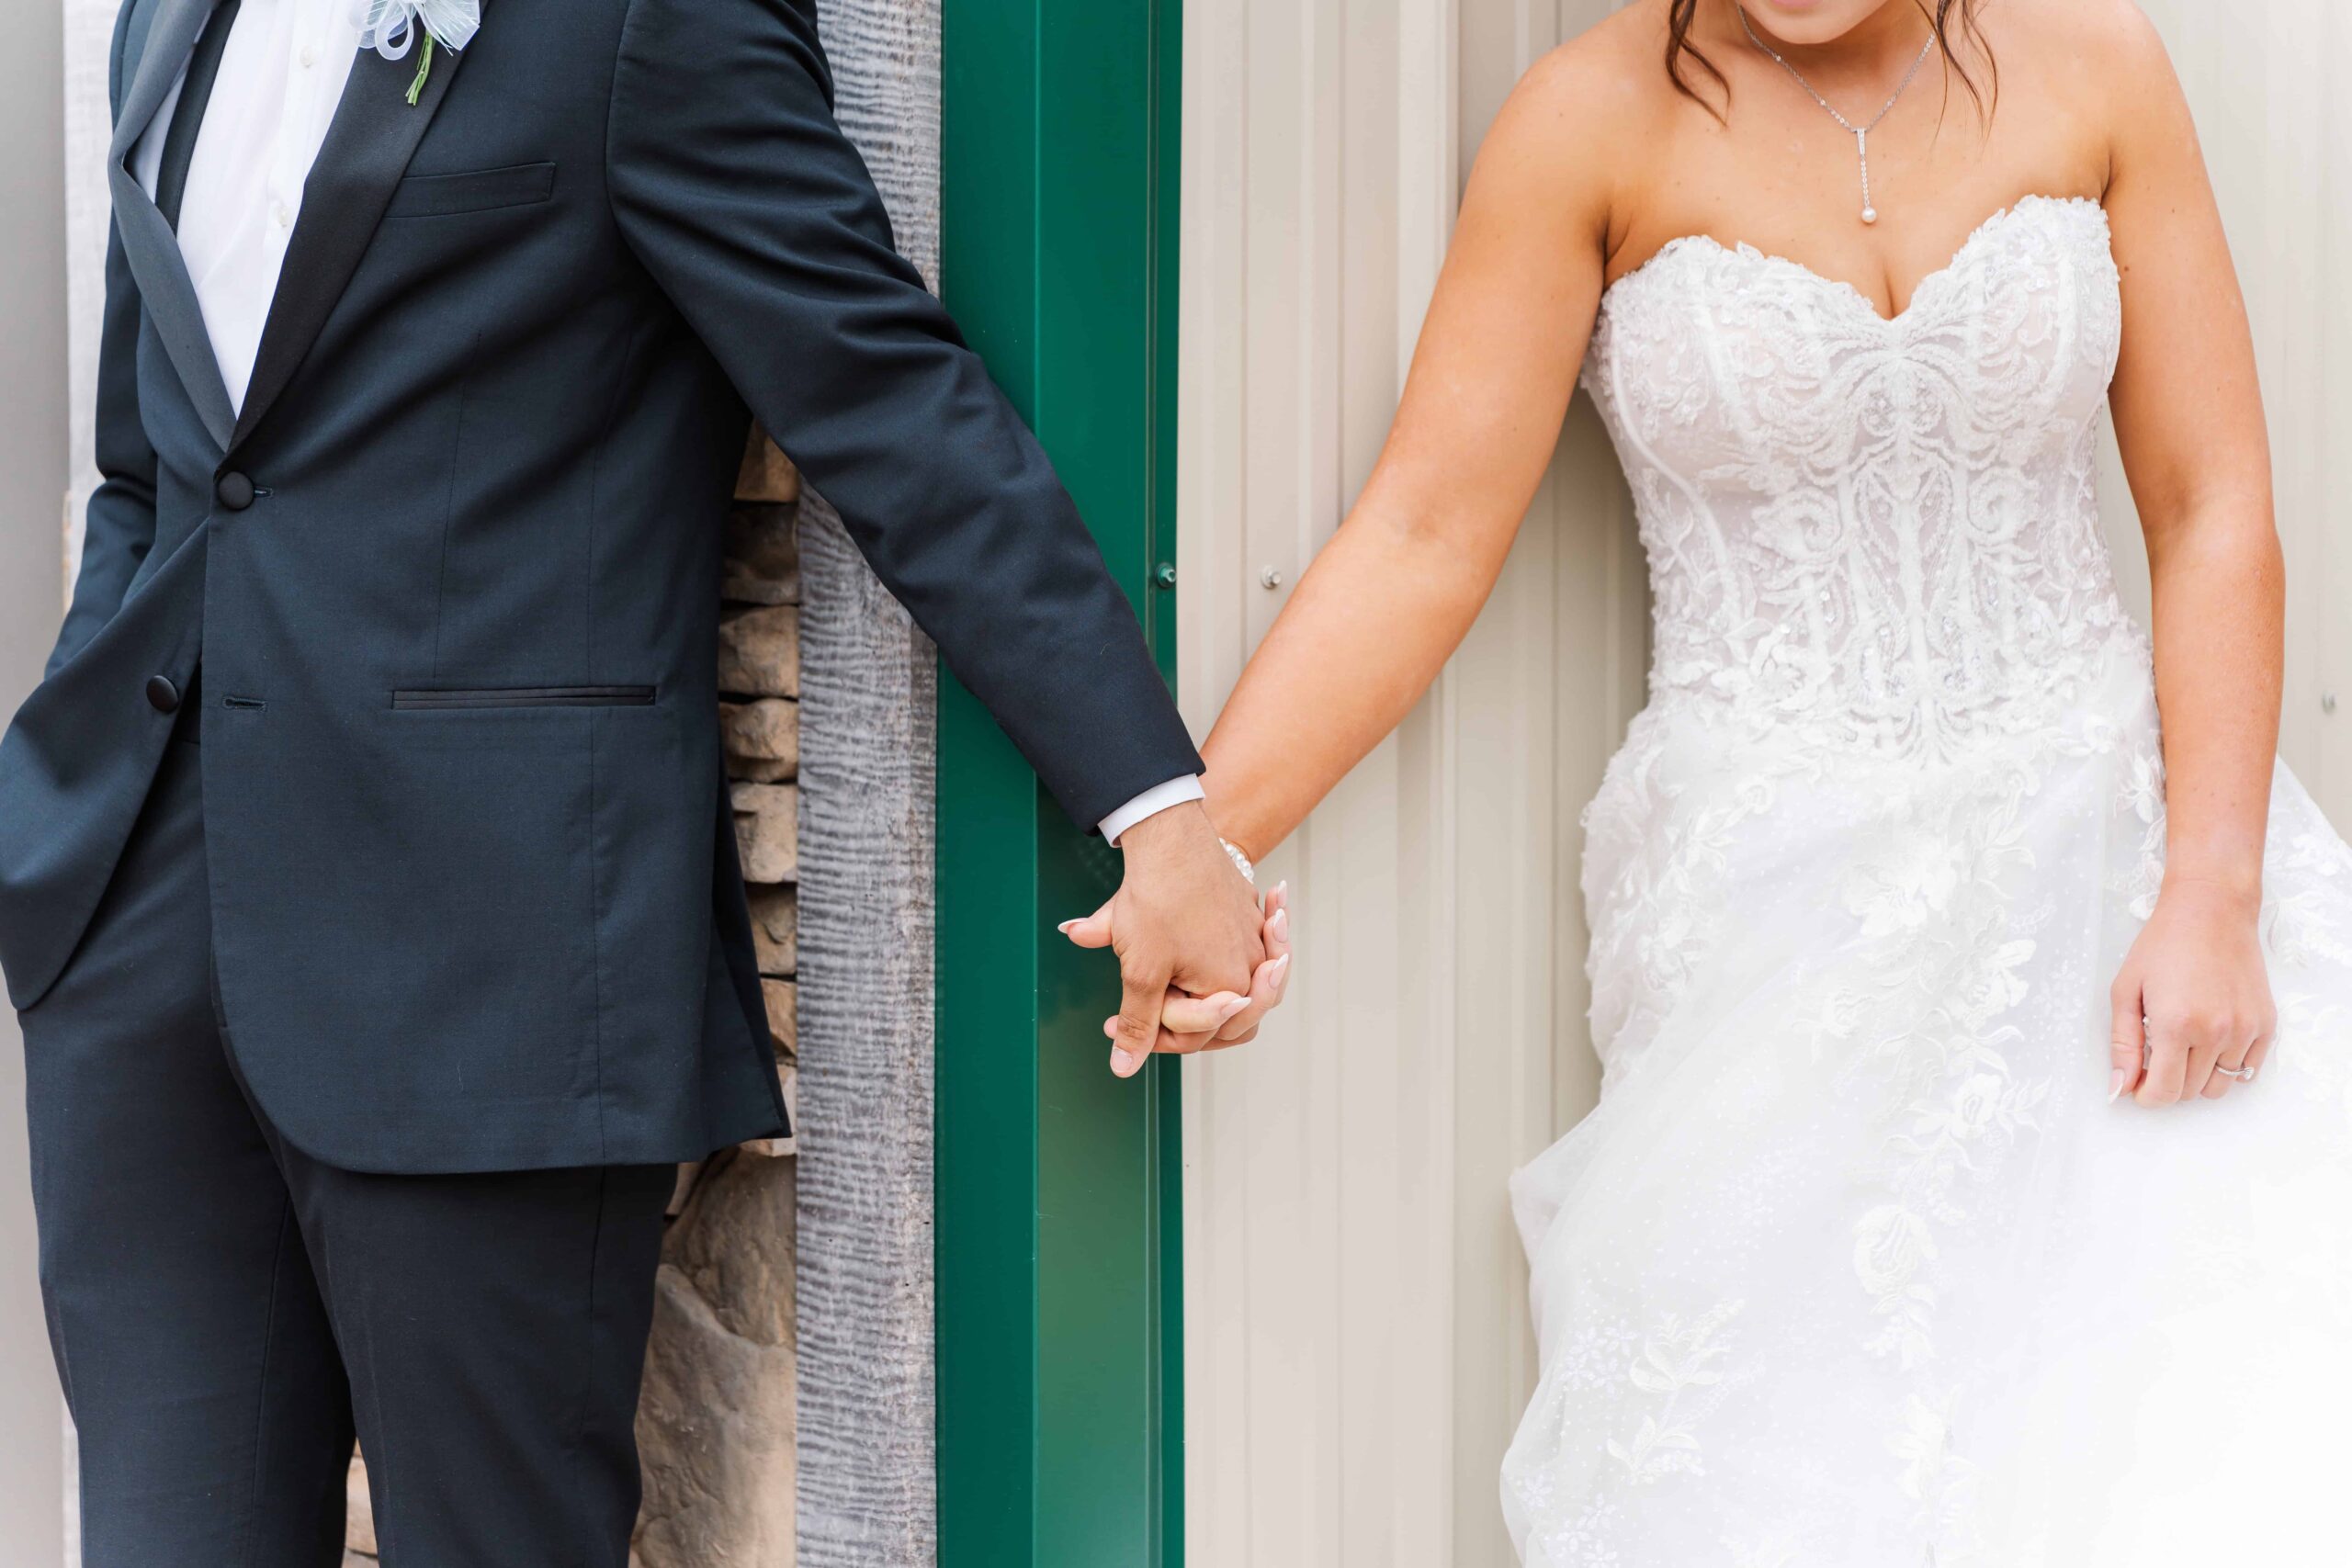
Interested in doing a first look with your partner? Your bridal party? Your parents? What about a first touch? I’m so glad you’re thinking about adding one of these special moments to your wedding day!
A first look with your partner offers a private moment for you both before the ceremony, allowing all the wedding day jitters to dissipate, and allowing for your photographer to capture additional gorgeous photos of your on wedding day. Allot 30 minutes for the first look and couple portraits immediately following it. This half hour ensures plenty of time to relax and capture genuine emotions.
Don’t want to do the first touch with your partner, but want to do one with your dad/mom/bridal party/dog/whomever? Fantastic! Allot 10 minutes for every first look you’d like to do!
Wanting a first touch instead? Allot about 15 minutes for a first touch. P.S. this is a great time to read private vows to each other if that’s something you’re interested in!
3. Plan Enough Time for Family Photos
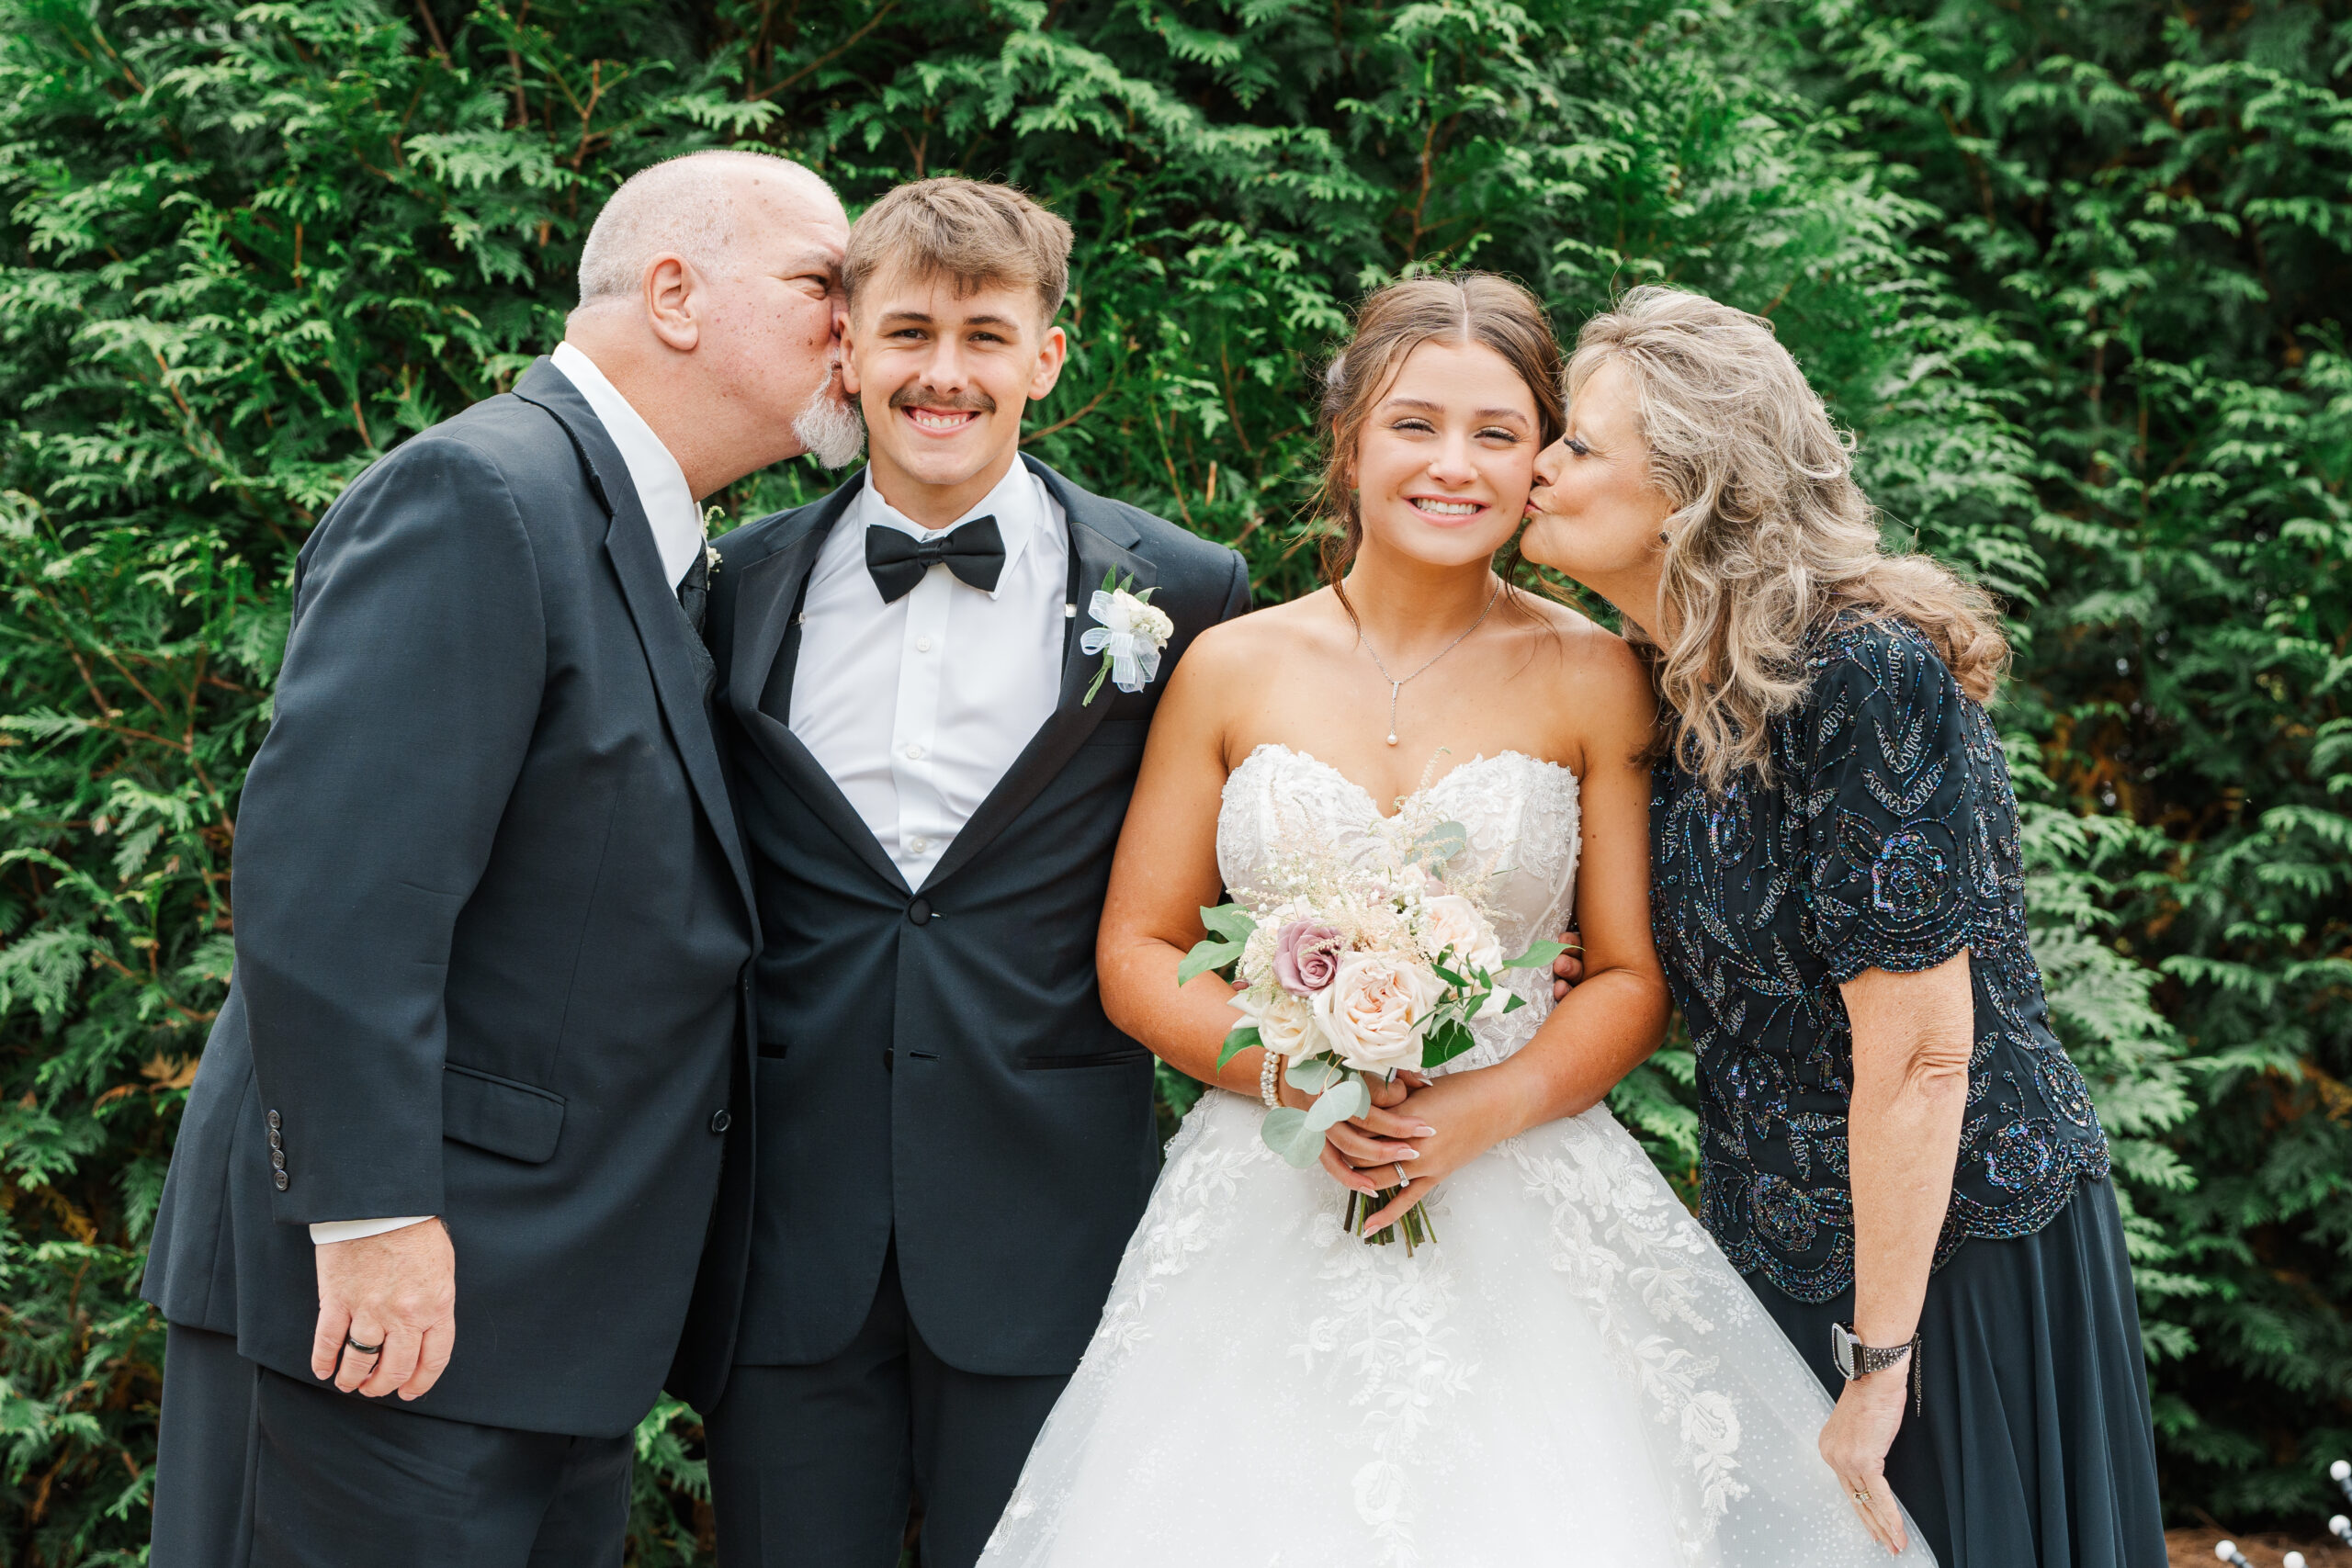
Family photos (most of the time) take longer than you’d expect. Everyone is ready to celebrate with you, not pose for photos! Having a list and knowing about how long that list will take to get through is super important to keeping your day on schedule and running smoothly. If you’re thinking about how to plan a wedding timeline, this part is crucial to include.
Provide your photographer with a detailed list of family groupings ahead of time. For example:
- Couple + Immediate Family (parents, siblings, grandparents)
- Couple + Extended Family
- Couple + Specific Groups (e.g., cousins, aunts/uncles)
A good rule of thumb is that every single different combination of people takes 2-3 minutes to arrange and photograph. That means that if you had a list with 10 different family combinations, it would take 20-30 minutes to photograph. This is especially true for large groups of extended family members, so make sure you allot enough time for your list!
I know this is going to sound silly, but, designate a trusted family member or friend to help gather people for photos. Trust me! This keeps things moving and ensures no one is missing when it’s their turn. As someone who’s had to go run to cocktail hour and grab grandma so she could come back for family photos (a funny story), I promise you, the second that people are dismissed from the ceremony, they forget all about photos they are supposed to be in and they are ready to celebrate!
Another thing you can do to make sure you don’t have to go hunt down the stragglers on your list that are enjoying cocktail hour instead of posing with you for family portraits, is to tell every person that you want to be in photos, that they need to stay at the ceremony site. That way, after all of your other guests have left for cocktail hour, all your family is right there and ready to go!
4. Golden Hour Portraits Are Non-Negotiable
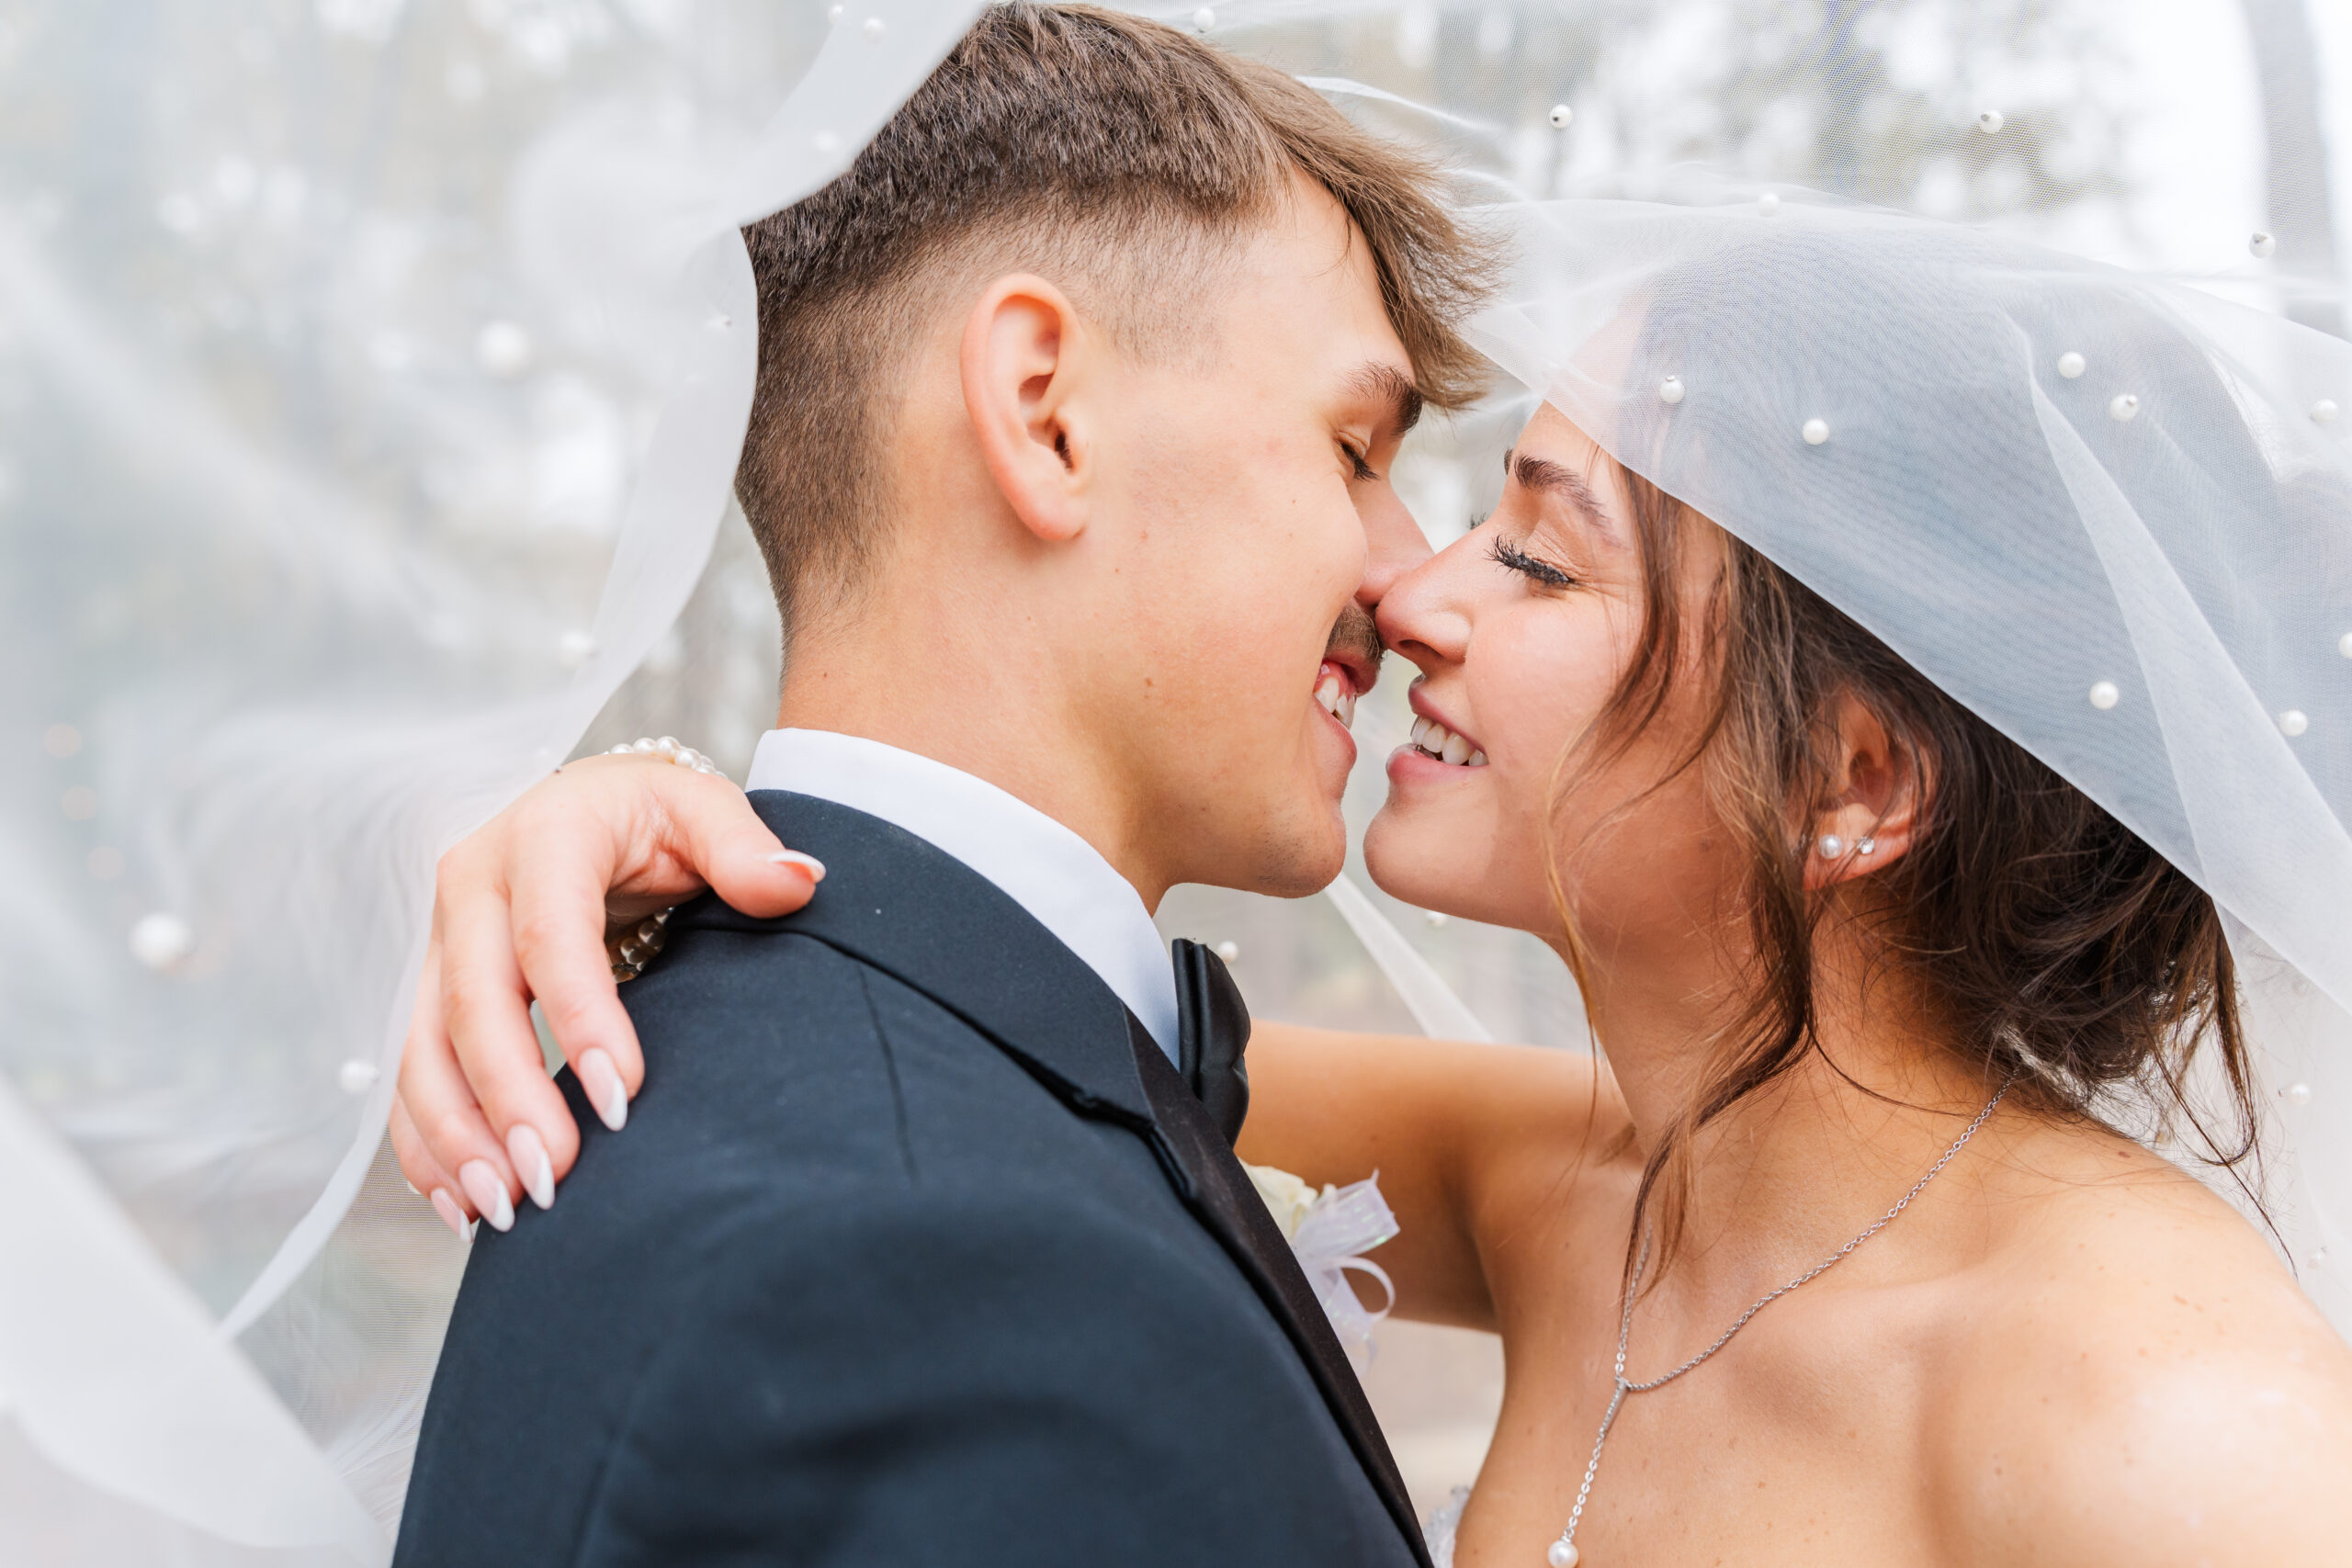
Golden hour—the hour before sunset—is the best time for capturing dreamy, warm-lit portraits. The sun is low in the sky and the light is warm, soft, and flattering. This is the PERFECT time for romantic couples portraits. These are THE PHOTOS. These are the photos that you’ll want on in your album and front and center on the wall in your living room. Don’t skip these – make sure you schedule enough portrait time!!
Check the sunset time for your wedding date and plan at least 20 minutes for golden hour portraits in your timeline if you did a first look with your partner. If you chose not to do a first look, no problem! Allot at least 30 minutes for golden hour portraits. Trust me, you will not regret this magical time taking photos at your gorgeous venue with the love of your life! Personally, I will take as much time as you give me to take amazing portraits of your and your partner at your stunning wedding venue!
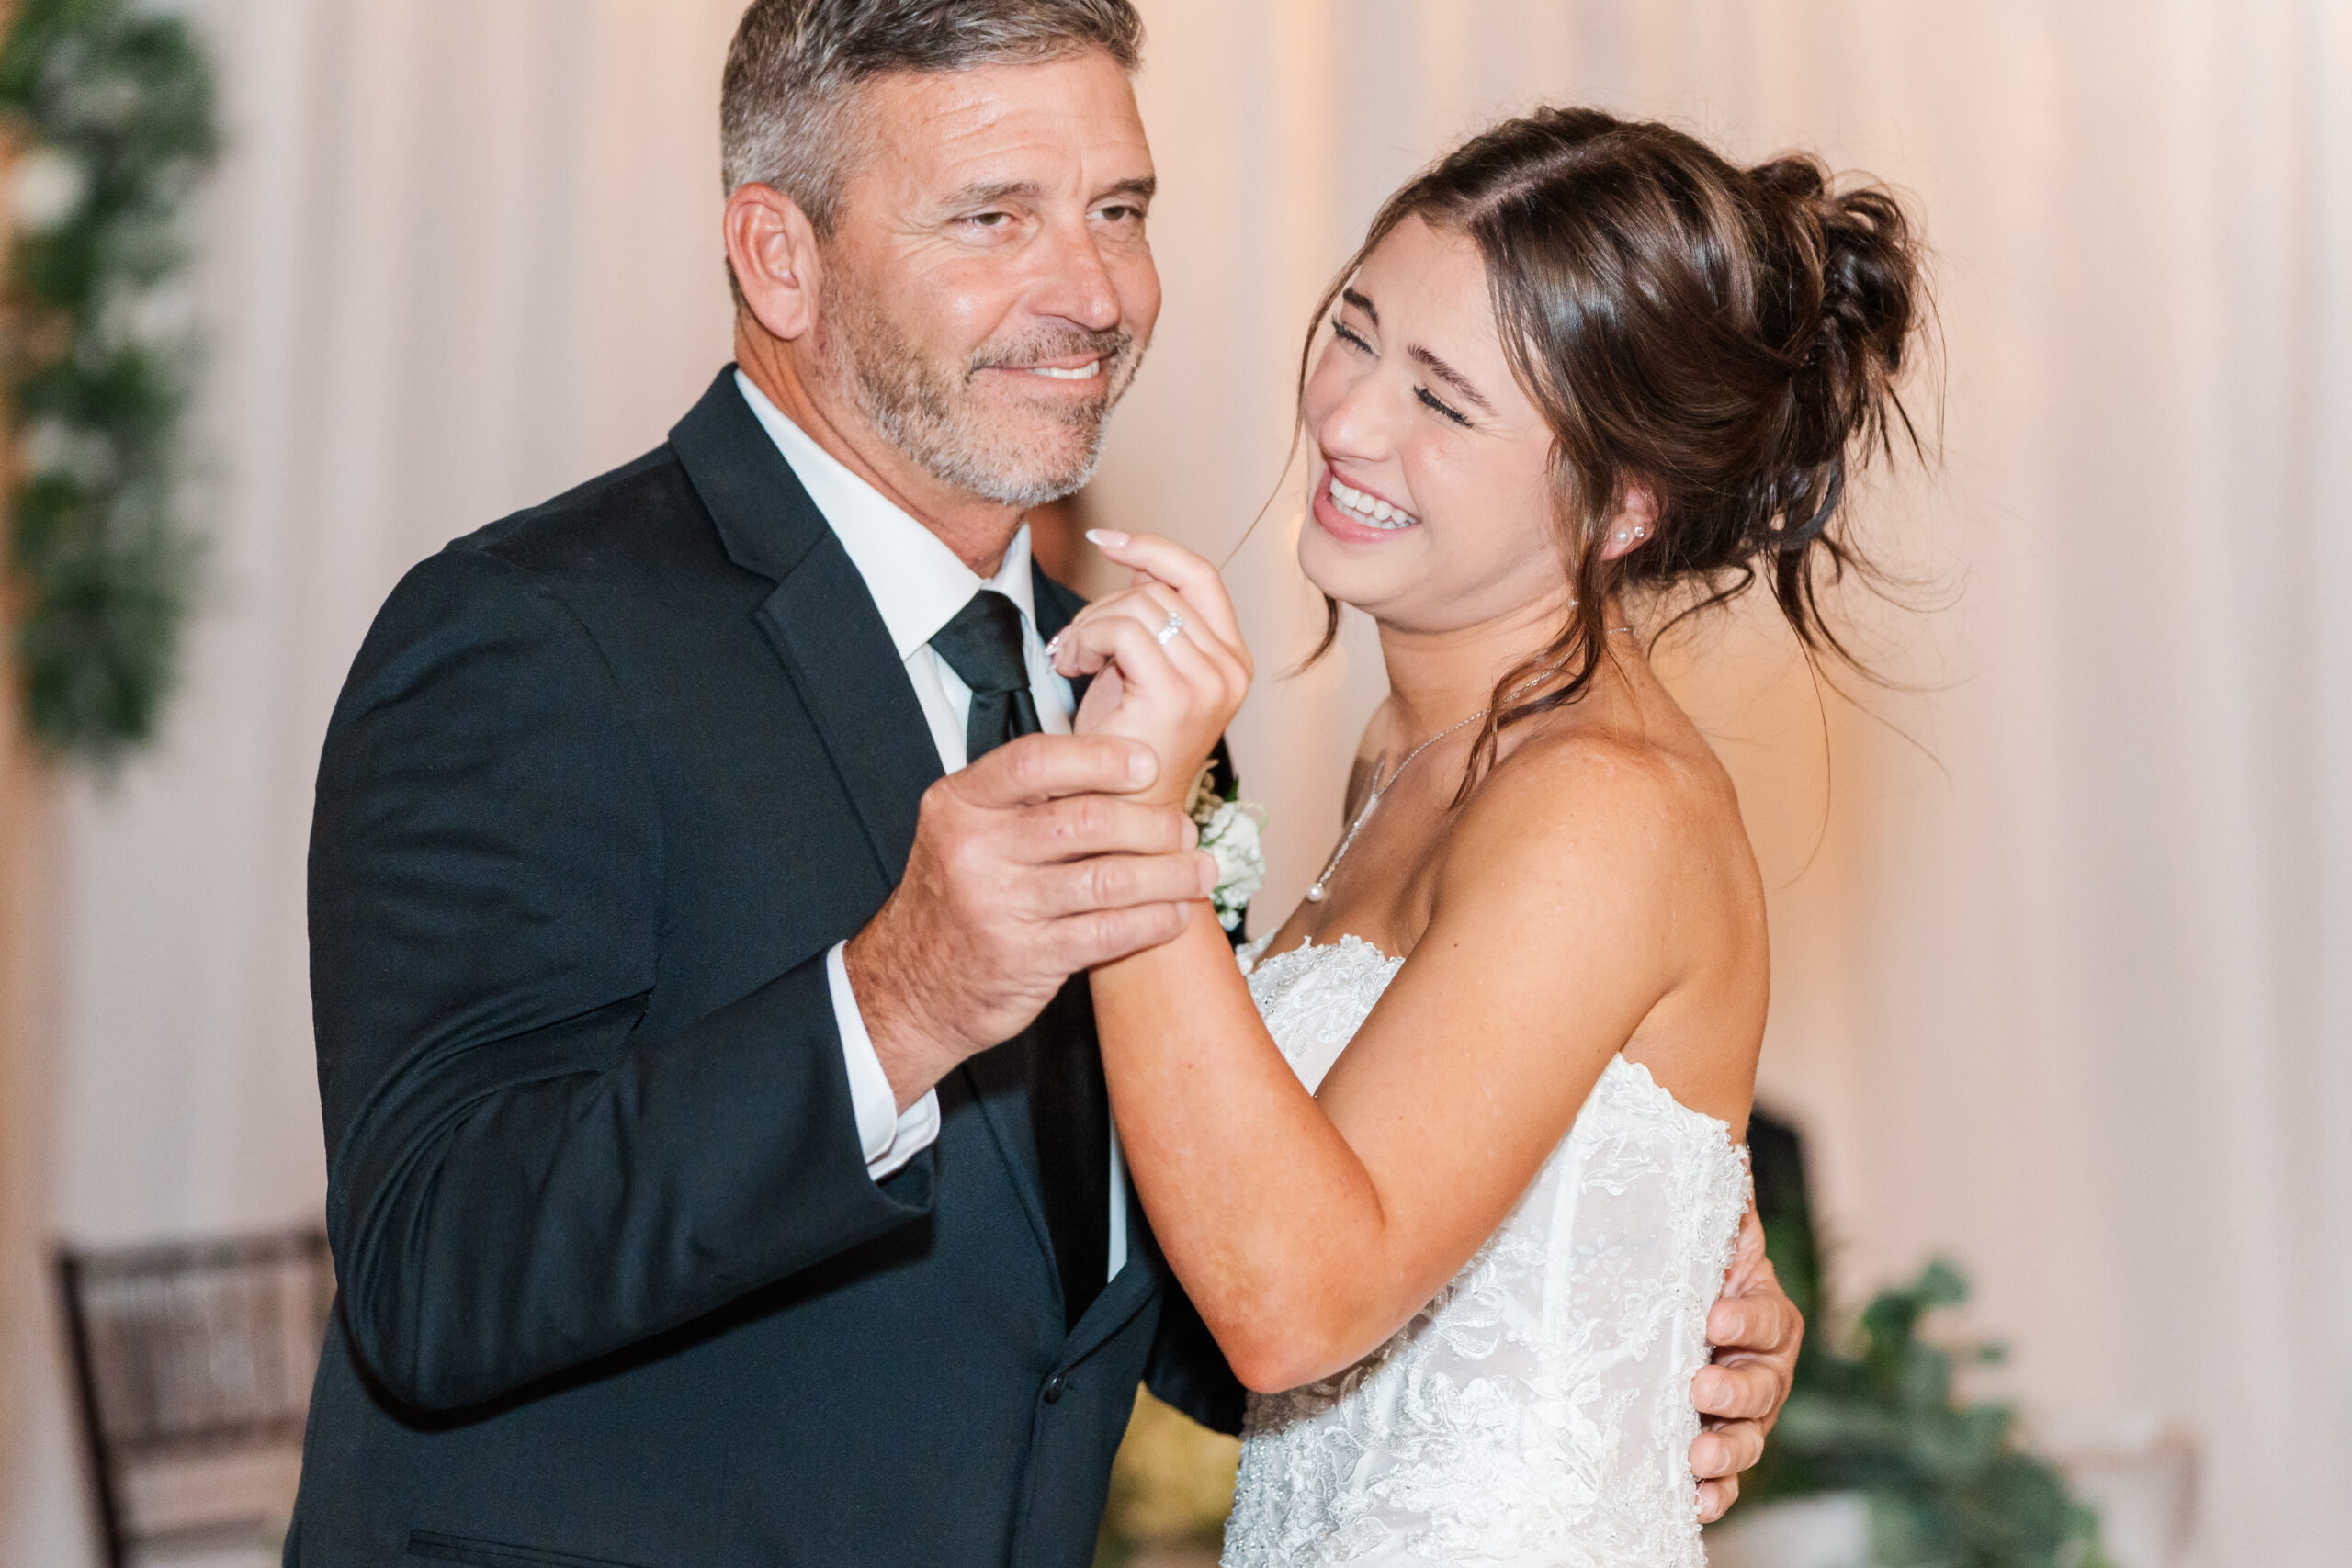
5. First Dances: Making Magic on the Dancefloor
The first dance is one of the most cherished moments of your wedding day, a time when the spotlight shines on you and your partner as you take your first steps together on the dancefloor as a married couple (hooray!). It’s a moment of romance, joy, and celebration, and it sets the tone for the rest of your reception. Including time for the first dance in your wedding timeline is essential to ensure the evening flows smoothly.
When planning your wedding timeline, consider scheduling the first dance right after dinner or immediately following your grand entrance into the reception. This keeps the energy high and transitions your guests seamlessly into the evening’s festivities.
Parent dances are heartfelt traditions that honor the bond between you and your parents. These dances are typically scheduled right after the first dance, allowing for a natural progression and keeping the focus on the dancefloor.
Here are some tips to make these moments unforgettable:
- Keep it Short and Sweet: Aim for around 2-3 minutes per dance to maintain your guests’ attention. If you are a person that doesn’t enjoy the spotlight or you don’t want to dance for that long, just have your DJ play your chosen song through the first chorus.
- Communicate the Plan: Let your DJ or band know the order of dances and any specific songs you’ve chosen.
- Practice Ahead of Time: A quick run-through with your partner and/or your parent(s) beforehand can help ease any jitters and make the experience even more enjoyable.
6. Include Buffer Time Between Major Events
No wedding runs perfectly on schedule. I will say that again, NO WEDDING runs perfectly on schedule, so adding buffer time between events is essential. When thinking about how to plan a wedding timeline, make sure you account for small delays like travel time or outfit adjustments.
Aim for 10–15 minutes of cushion time between key moments, such as after the ceremony, before the reception, and during transitions. These buffers account for delays, allowing you to stay stress-free and keep everything on track for your photo and/or video team. Make sure to add even more buffer time if there is a drive between the different locations of your wedding day! Account for drive time and for any possible traffic along the way.
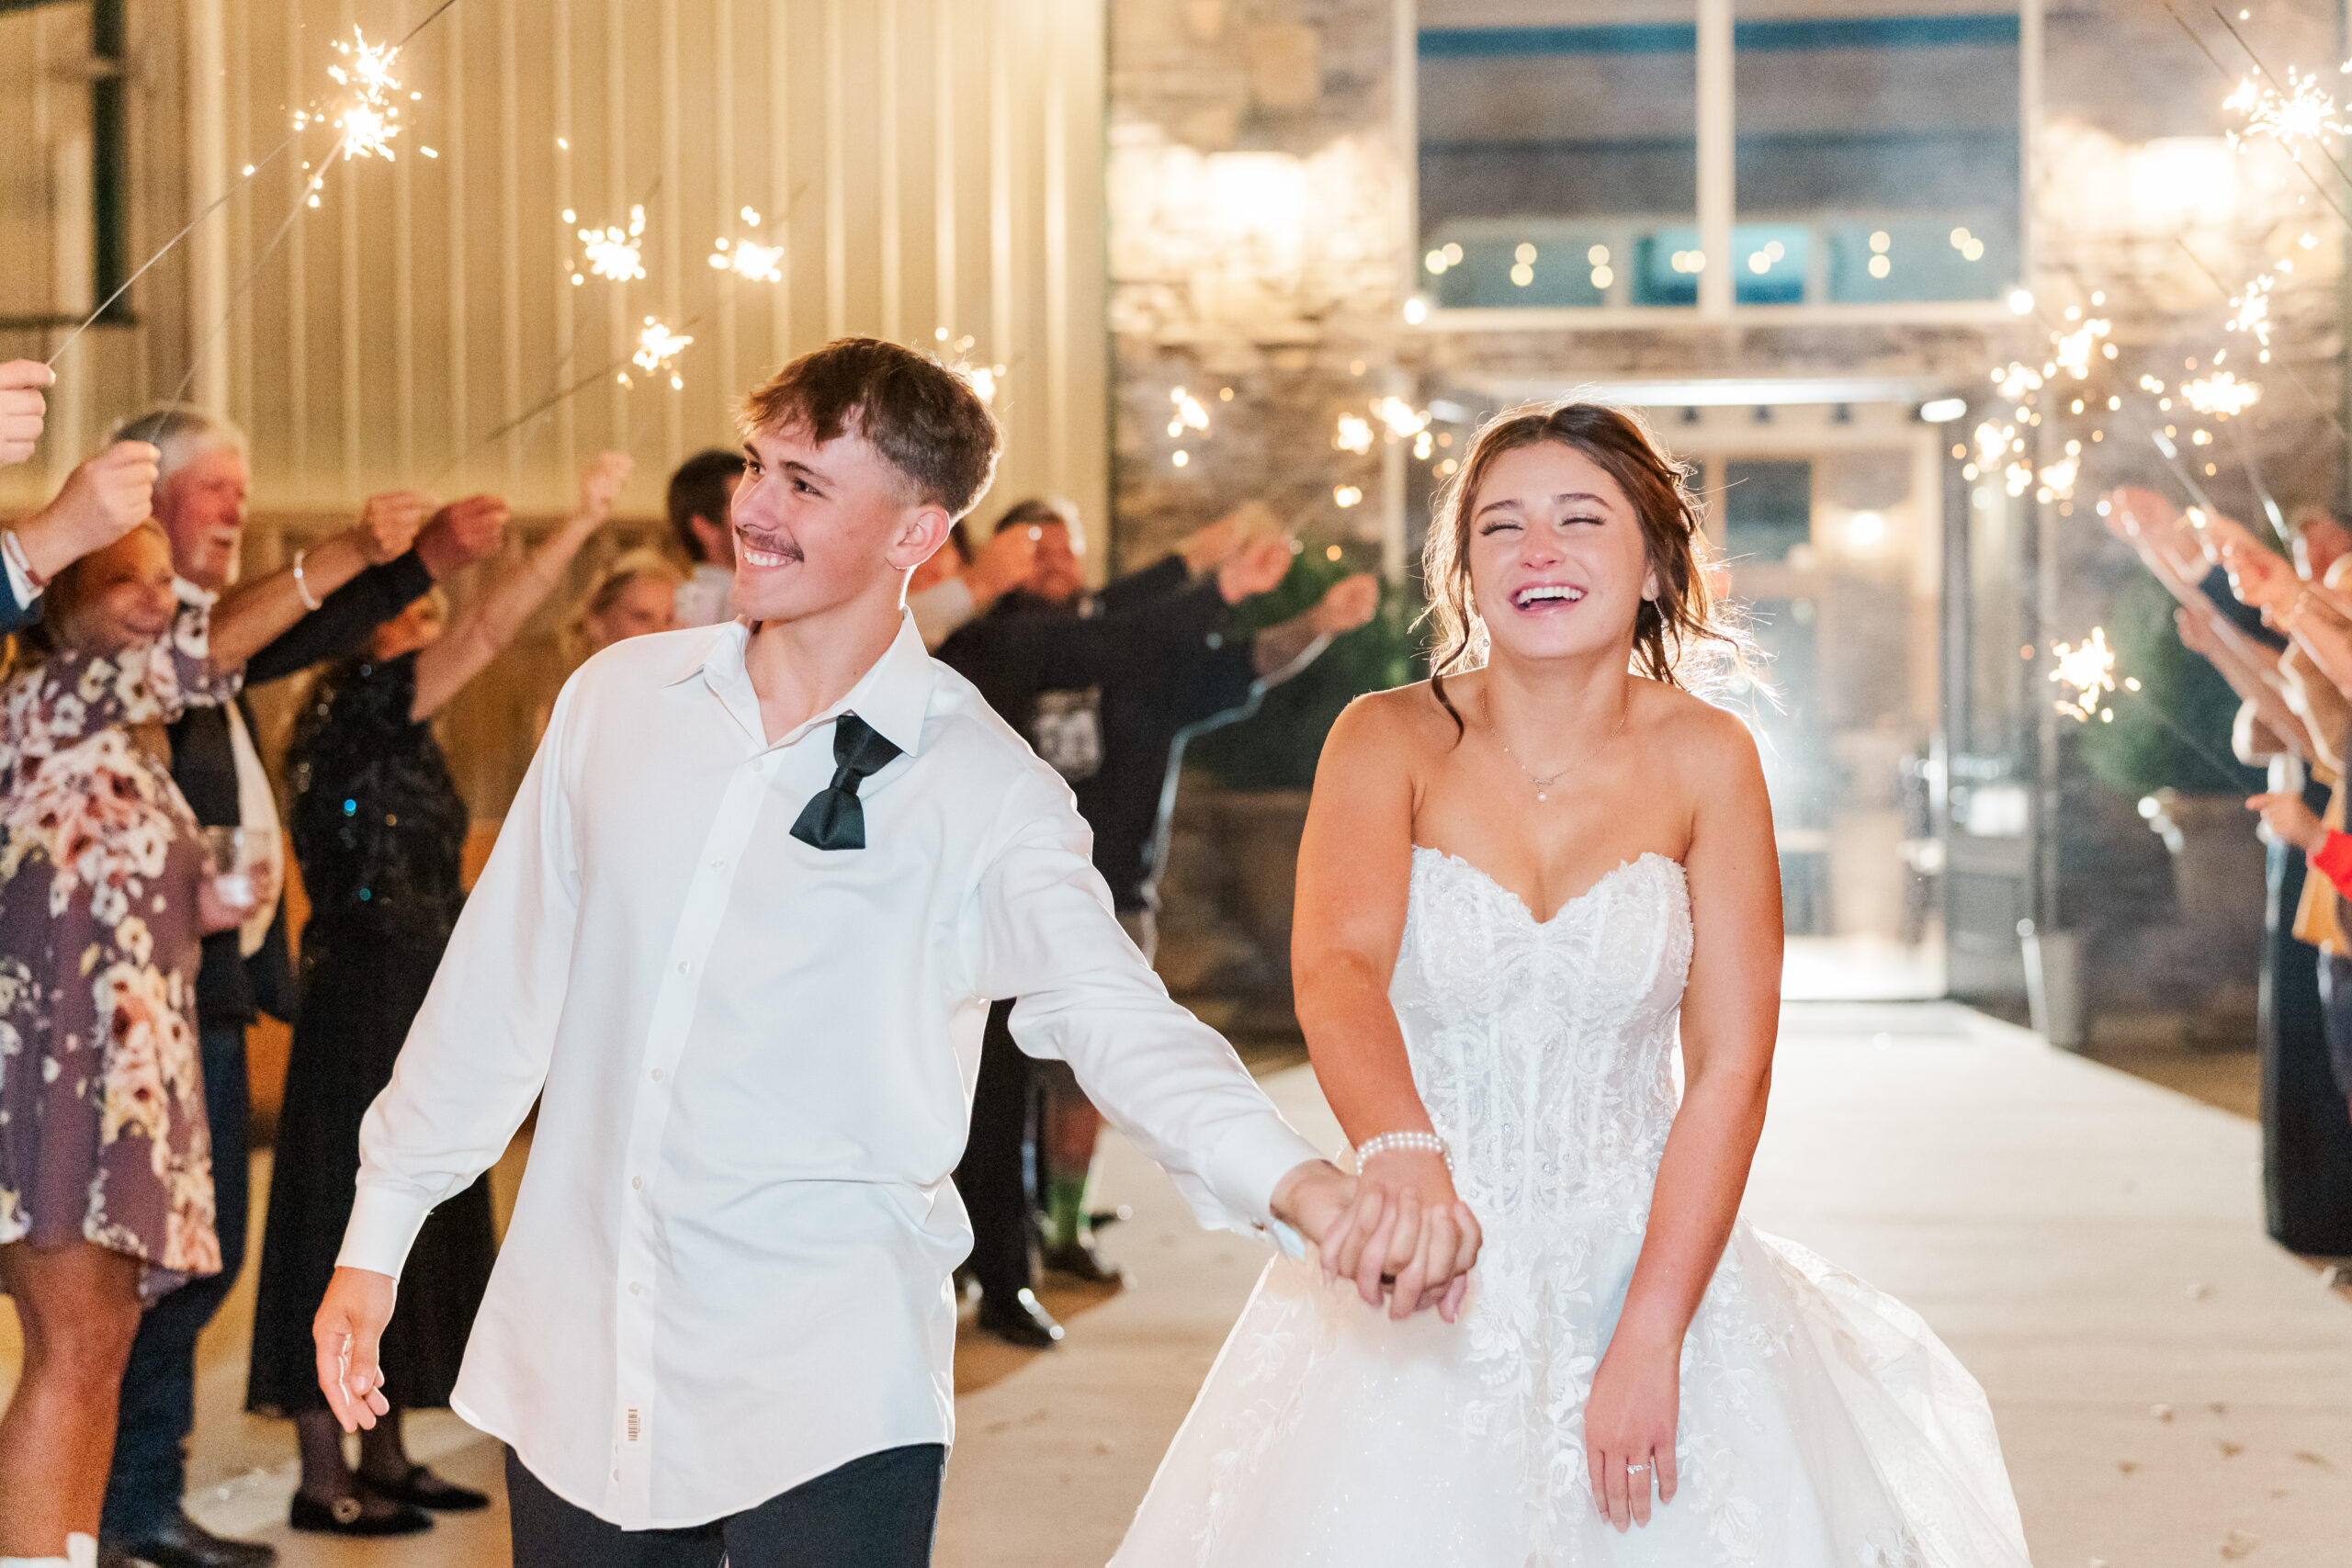
7. Controlled Exit Versus a Grand Exit
You’ve had an amazing day! You married your best friend, you’ve mingled with all your sweet friends and family, and you’ve partied it up on the dance floor, now it’s time for your exit! You’ll need to decide if you want to go with a controlled (or “fake” exit) or a grand exit.
A controlled exit—such as a staged sparkler send-off earlier in the evening—lets your photographer capture those iconic exit shots while you and your guests still have energy. I normally recommend a controlled exit with just your bridal party and your close family members. This way, your guests still continue to party inside and you get a much more organized and intimate “exit” experience! This is especially true if you plan on doing a sparkler exit and you plan on serving alcohol at your wedding. An earlier controlled exit before the end of the night will lessen the chance of putting actual fire in drunk uncle Dave’s hands and means less stress for you, your photo/video team, your wedding planner, the venue, and less chance of a potential fire!
If you prefer an authentic grand exit, plan to end the reception on time and you’ll want to plan to keep your photographer around until the very end, so that they can capture your smiles and laughs, kisses and dips as you run through the tunnel of your laughing and cheering friends and family!
Want something other than sparklers for your send off? Check out 7 Creative and Unique Wedding Send-Off Ideas for some inspiration!
Sample Wedding Day Timeline for Stunning Photos
This timeline is based on a 5:00 PM ceremony and includes time for all the essential moments, including getting-ready photos, family photos, golden hour portraits, and a celebratory exit. Adjustments can be made for earlier or later ceremonies.
Morning: Getting Ready
- 8:00 AM – 12:00 PM: Hair and makeup for the bridal party and bride
- 12:30 PM: Photographer arrives, begins detail and flat-lay photography (45 minutes)
Items Needed: Invitations, rings, shoes, bouquet, dress, and accessories - 1:15 PM – 2:45 PM: Getting-ready photos of the bridal party and bride (90 minutes)
Photos include candid moments, bride dressing, final touches, and group shots of the bridal party.
Afternoon: Pre-Ceremony Portraits
- 2:45 PM – 3:30 PM: First look and couple portraits (45 minutes)
Private moment with the couple, followed by romantic portraits. - 3:30 PM – 4:00 PM: Wedding party portraits (30 minutes)
Group shots of bridesmaids, groomsmen, and combined wedding party. - 4:00 PM – 4:30 PM: Immediate family photos (30 minutes)
Focus on parents, siblings, and grandparents. - 4:30 PM – 4:45 PM: Break before the ceremony (15 minutes)
Evening: Ceremony & Golden Hour
- 5:00 PM – 5:30 PM: Wedding ceremony (30 minutes)
Encourage an unplugged ceremony for distraction-free photos. - 5:30 PM – 6:15 PM: More family photos (if desired) and cocktail hour candids (45 minutes)
Couple joins the latter half of cocktail hour after family photos. - 6:15 PM – 6:45 PM: Golden hour portraits (30 minutes)
Romantic portraits during the best light of the day.
Reception: Dinner, Dancing, and Celebrations
- 6:45 PM – 7:15 PM: Reception details and guest introductions (30 minutes)
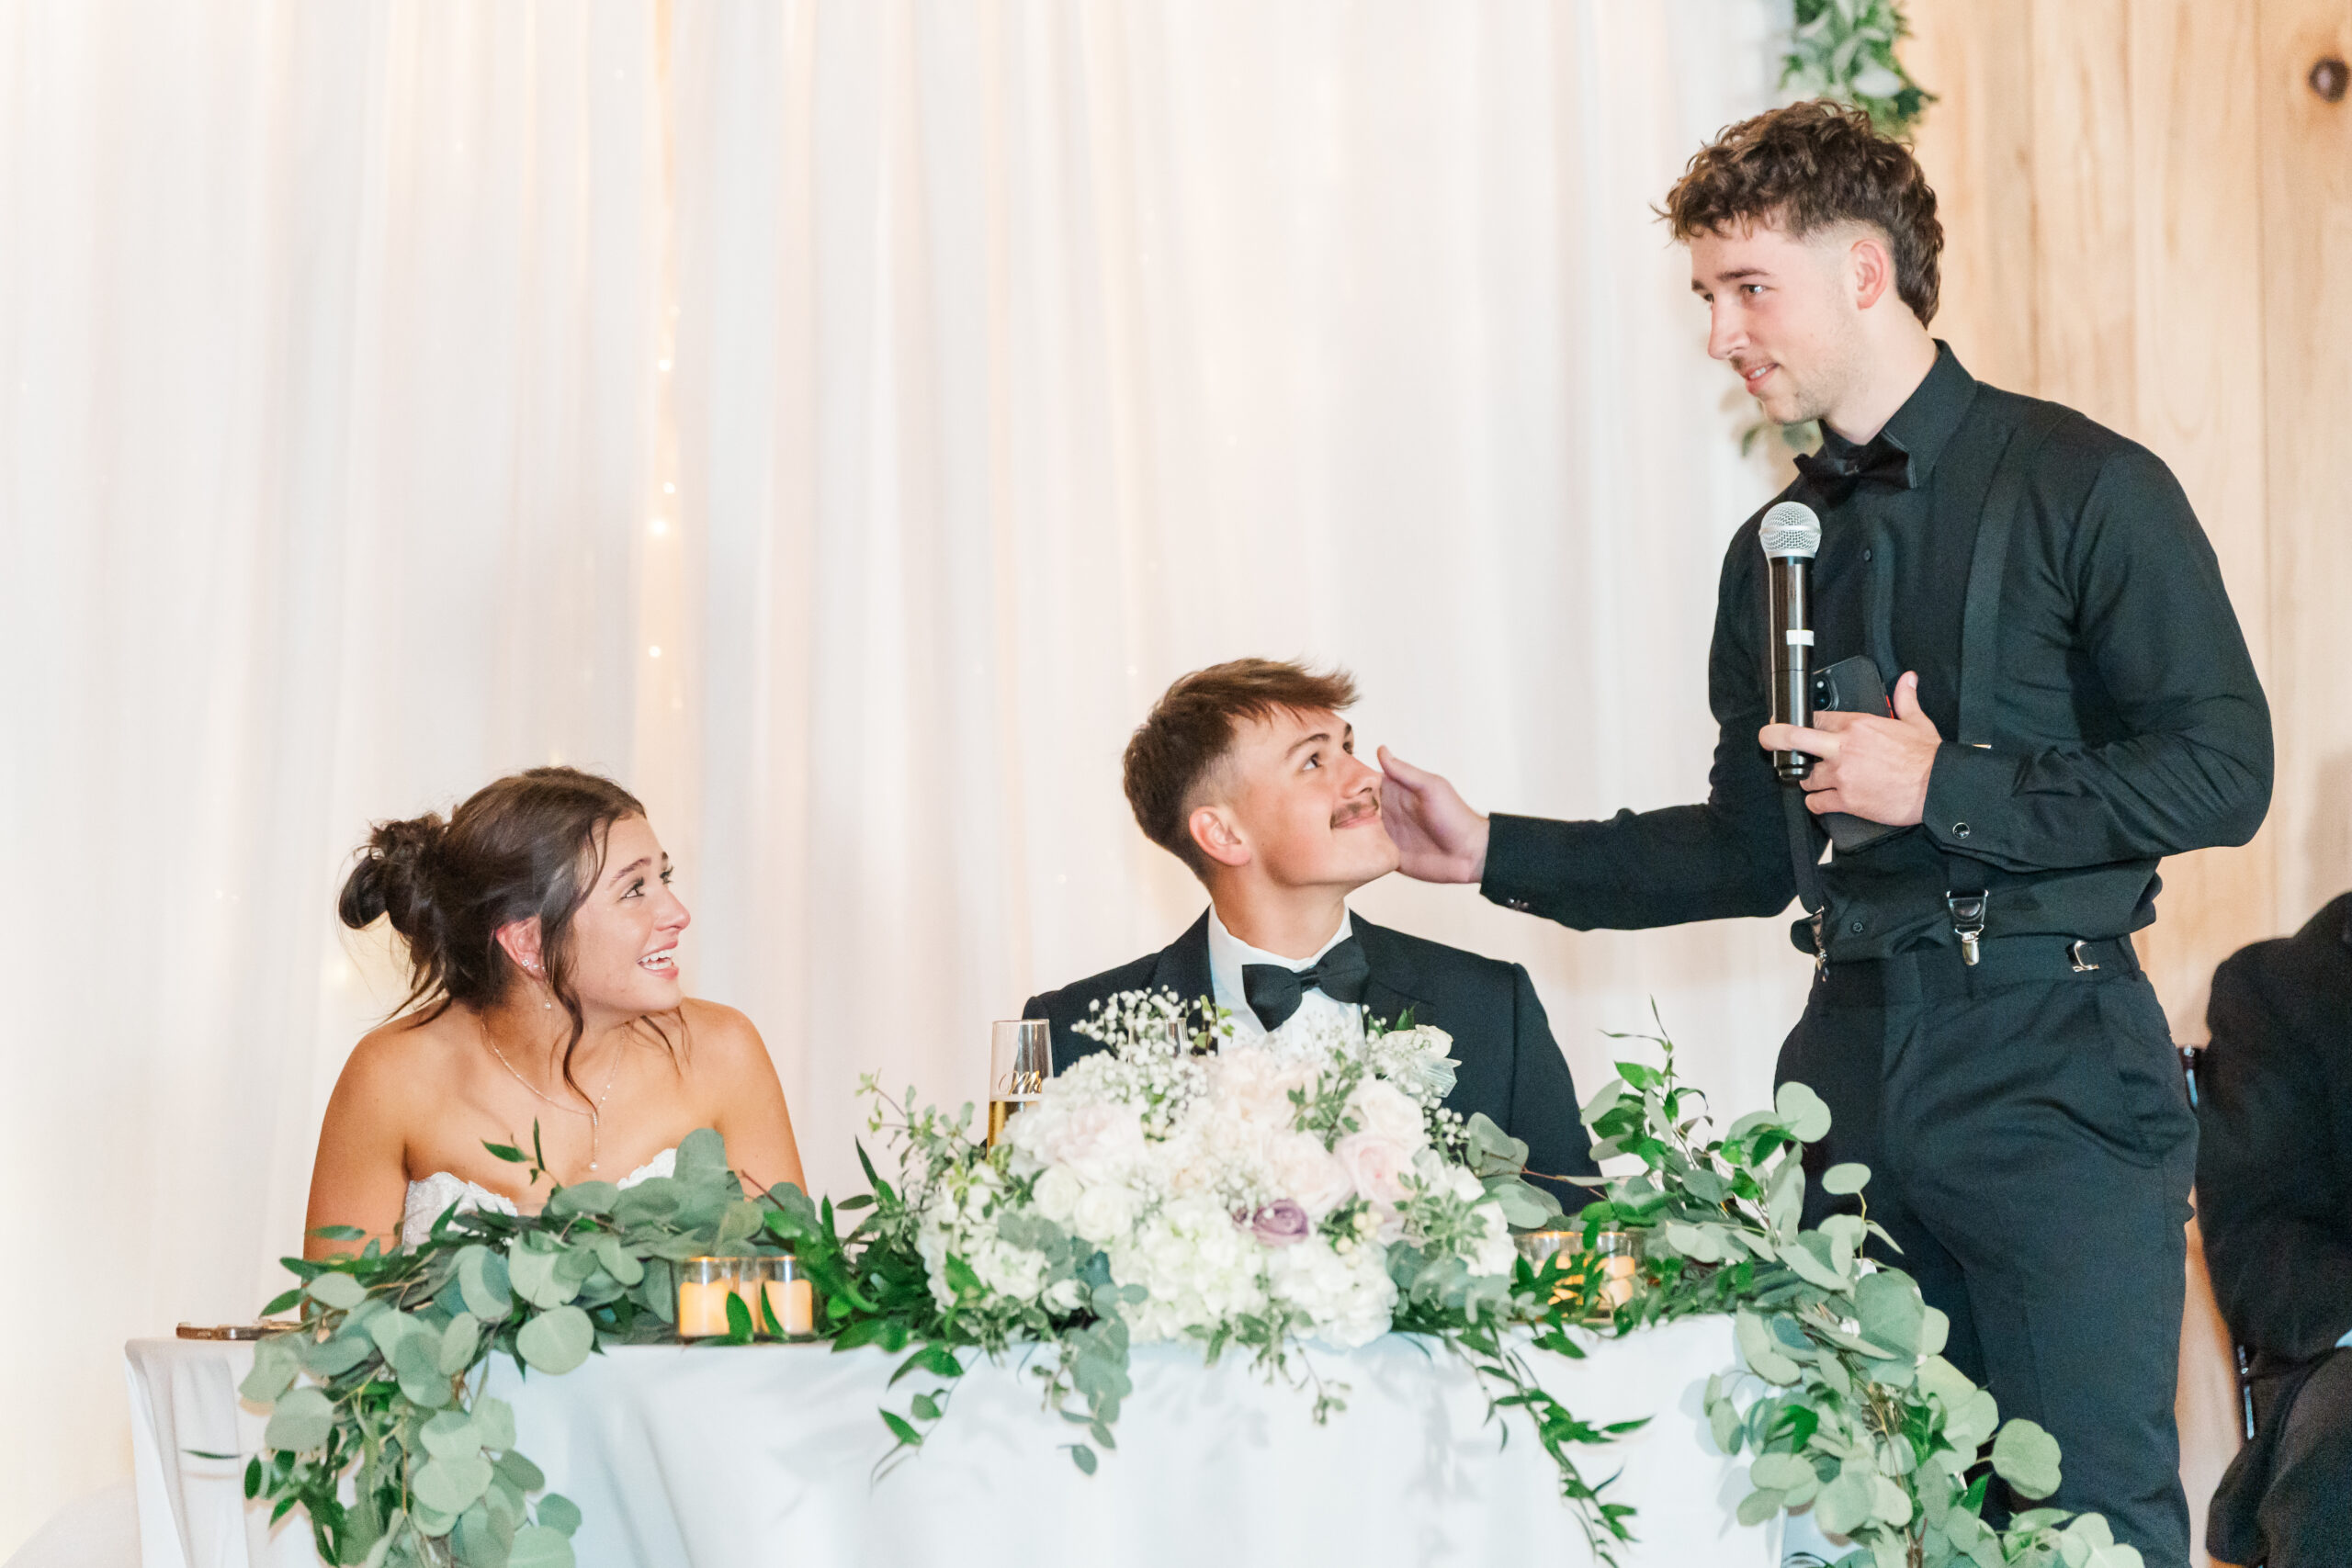
Photographer captures décor and guests mingling before dinner begins. - 7:15 PM – 8:00 PM: Dinner and toasts
Speeches from the best man, maid of honor, and couple’s parents. - 8:00 PM – 8:15 PM: First dance and parent dances
Plan for key moments with proper lighting and music. - 8:15 PM – 9:30 PM: Open dance floor and cake cutting
Photographer captures candid moments of dancing and celebrations. - 9:30 PM – 9:45 PM: Bouquet toss and other traditions (if included)
End of the Night: Exit
- 9:45 PM – 10:00 PM: Controlled exit with sparklers or cold sparks (my personal favorite)
Creates a perfect celebratory moment for photos. - 10:00 PM: Photographer departs
Final Tips for How to Plan a Wedding Timeline
- Share your timeline with your photographer, your wedding planner, and your vendors to ensure everyone is on the same page.
- Communicate which moments are most important to you so your photographer can prioritize them.
- Don’t forget to plan extra time for travel between venues! (If applicable)
Now that you know how to plan a wedding timeline, you’re well on your way to a stress-free day and stunning photos to cherish forever. A well-organized schedule ensures you get the most out of every magical moment—and the best possible photographs to remember it all!
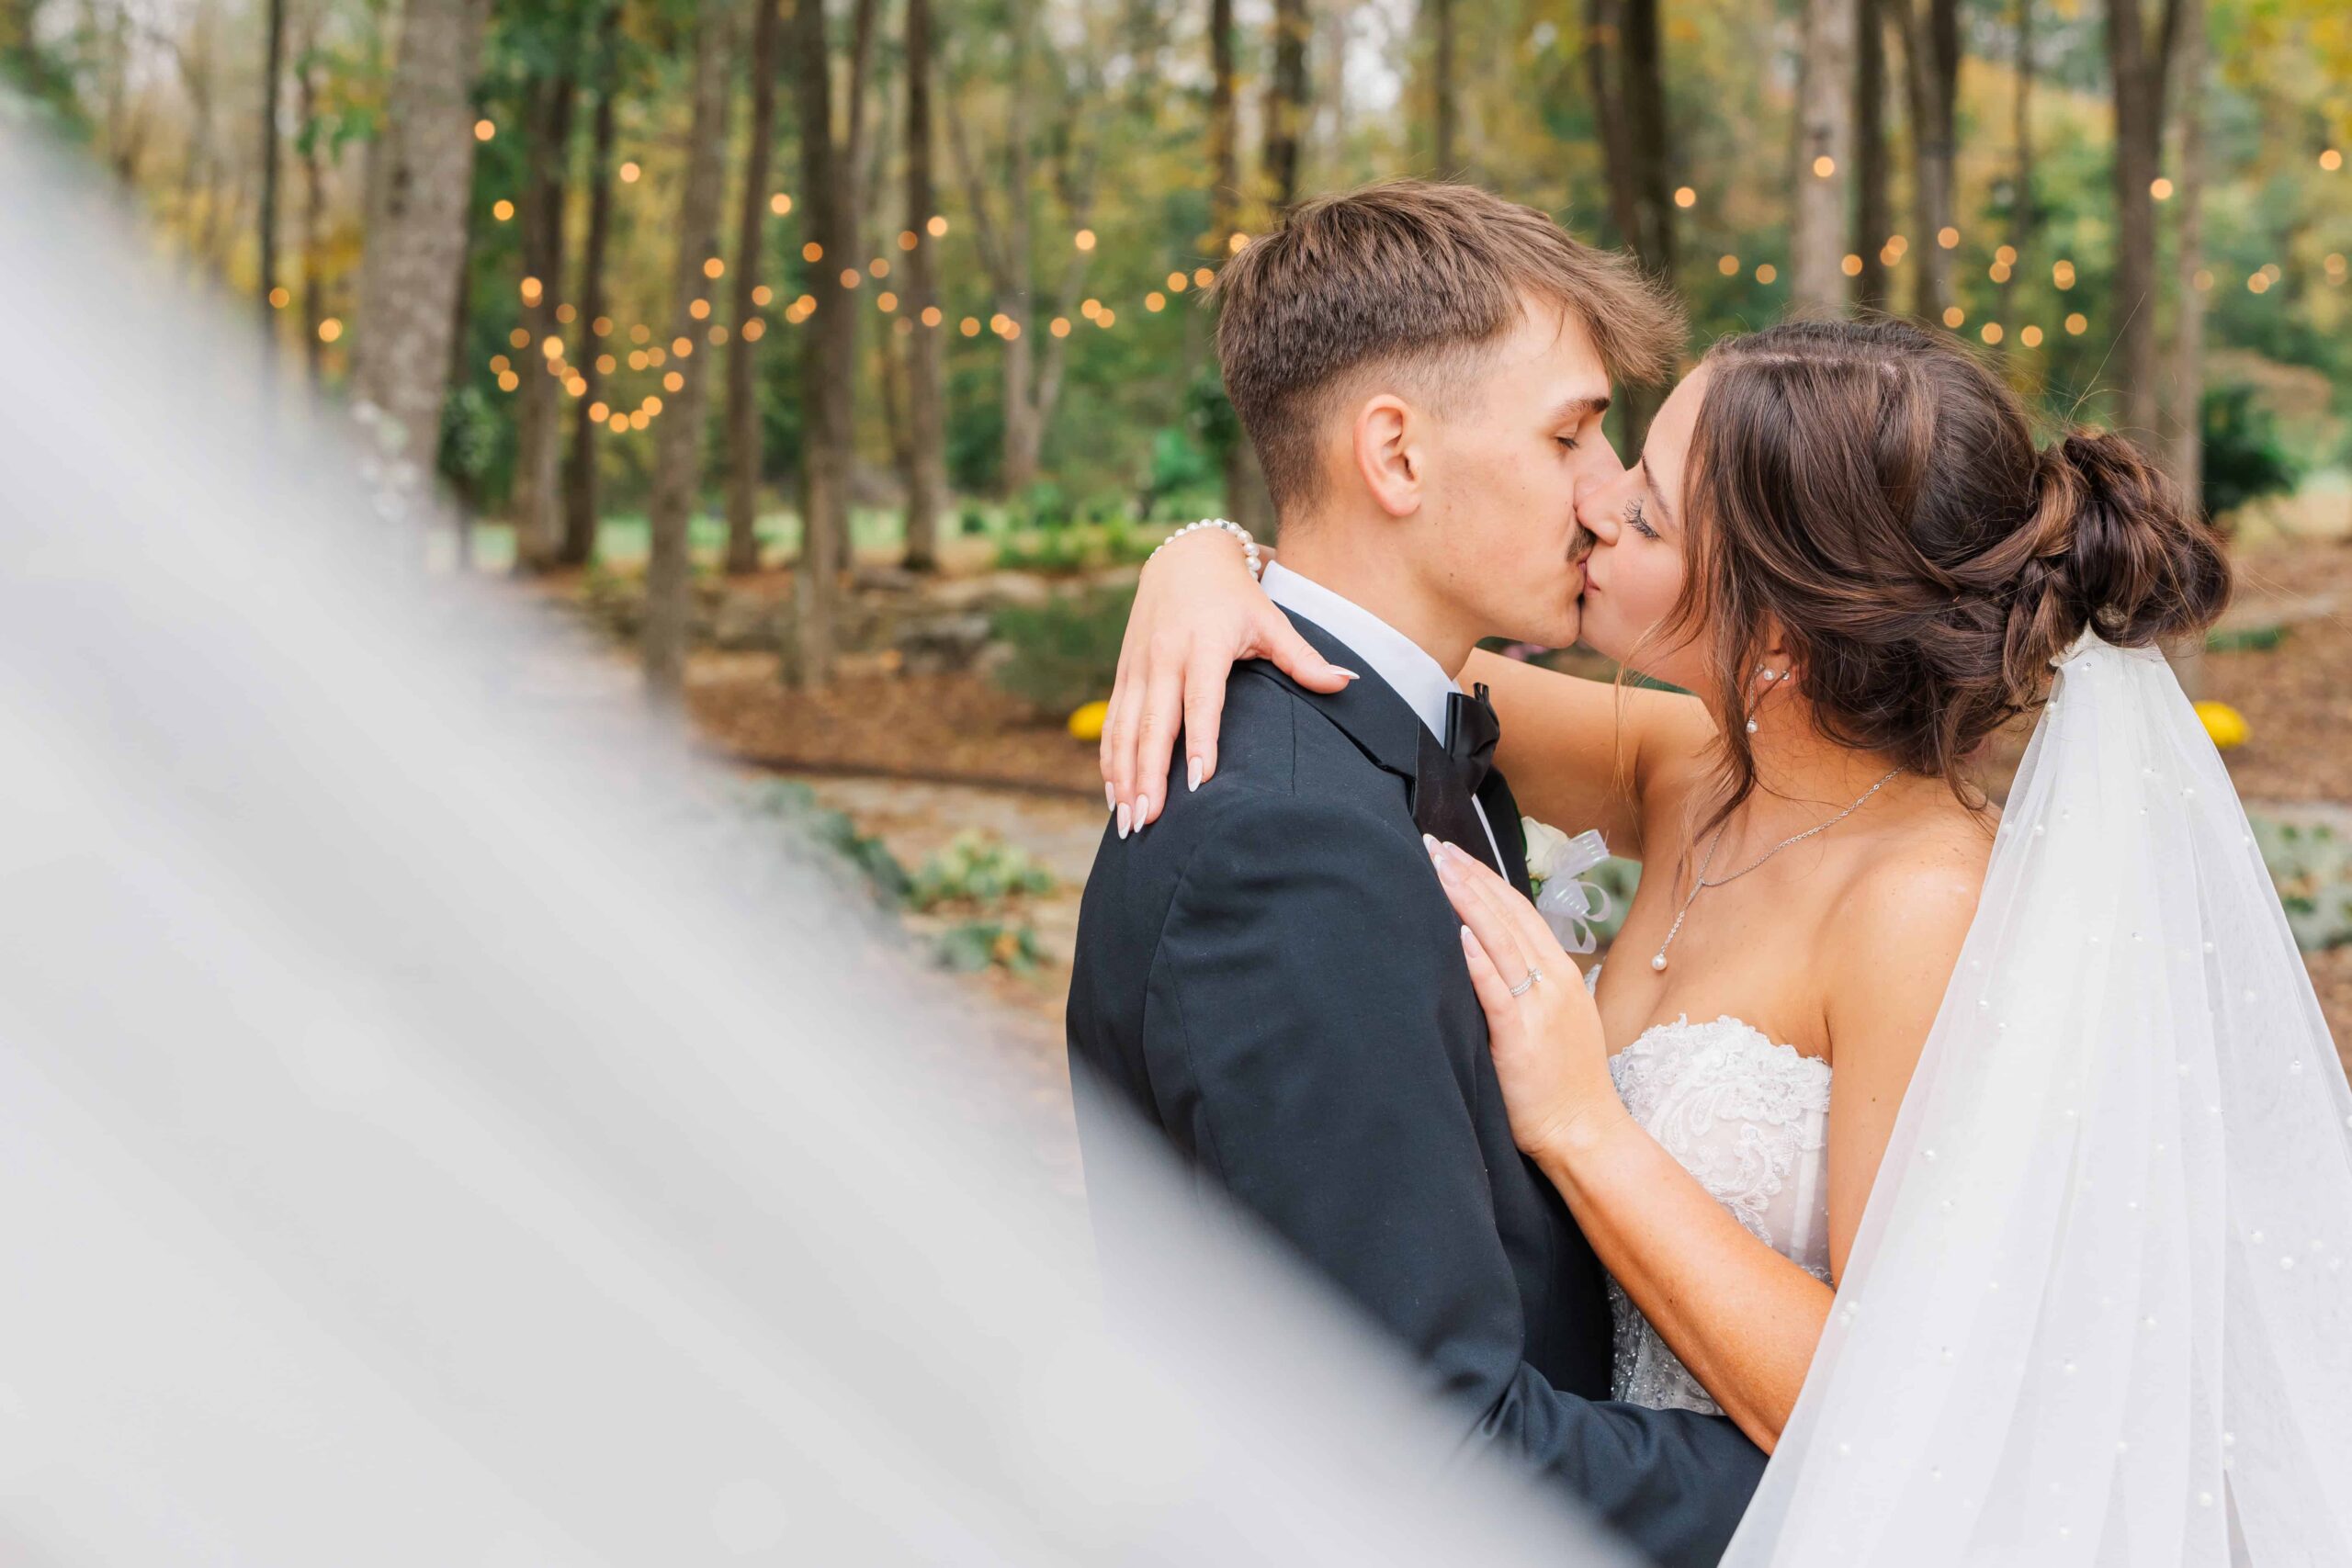
Love the gorgeous photos from Grace and Caleb’s wedding day? Check out their gorgeous venue (Low Meadows Estate) and view a full blog post of their wedding!
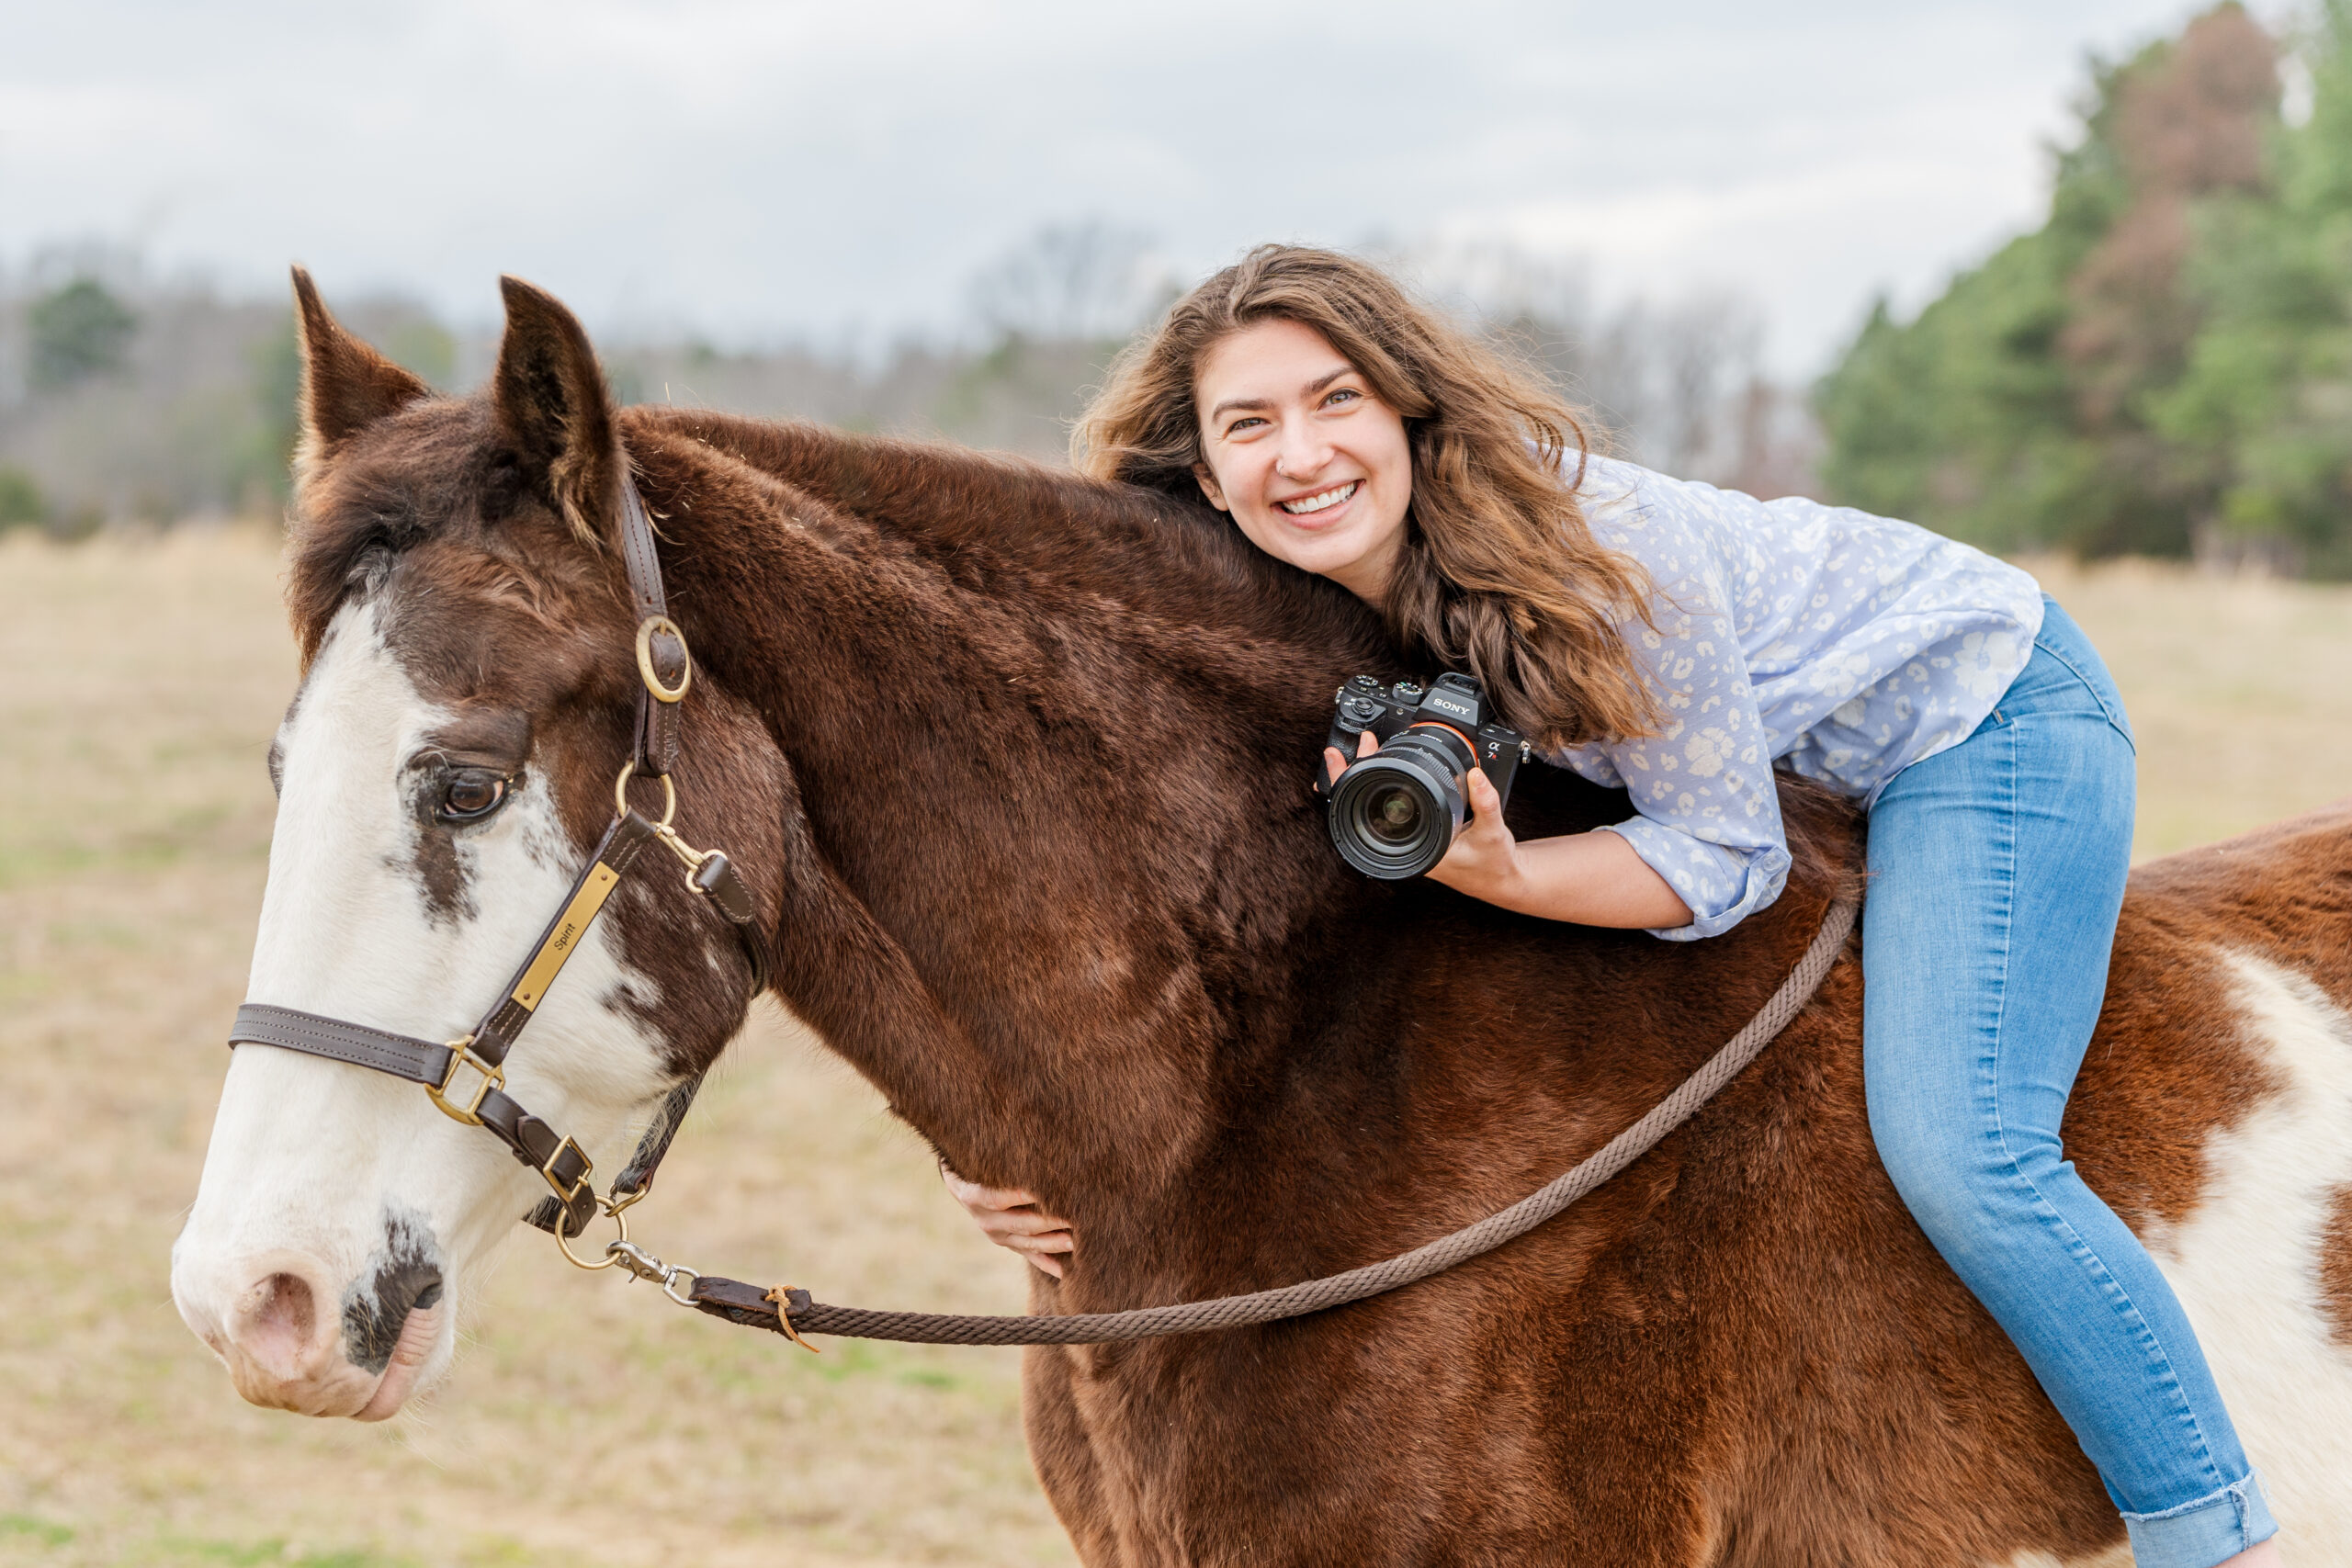
Hey (or “hay”) there!
If you’re looking for a photographer for your wedding day, I’d love to talk with you! I provide timeline assistance to all of my couples and can help customize your timeline for your specific wedding day needs.
Be the first to comment